Working with safe Epoxy Resin
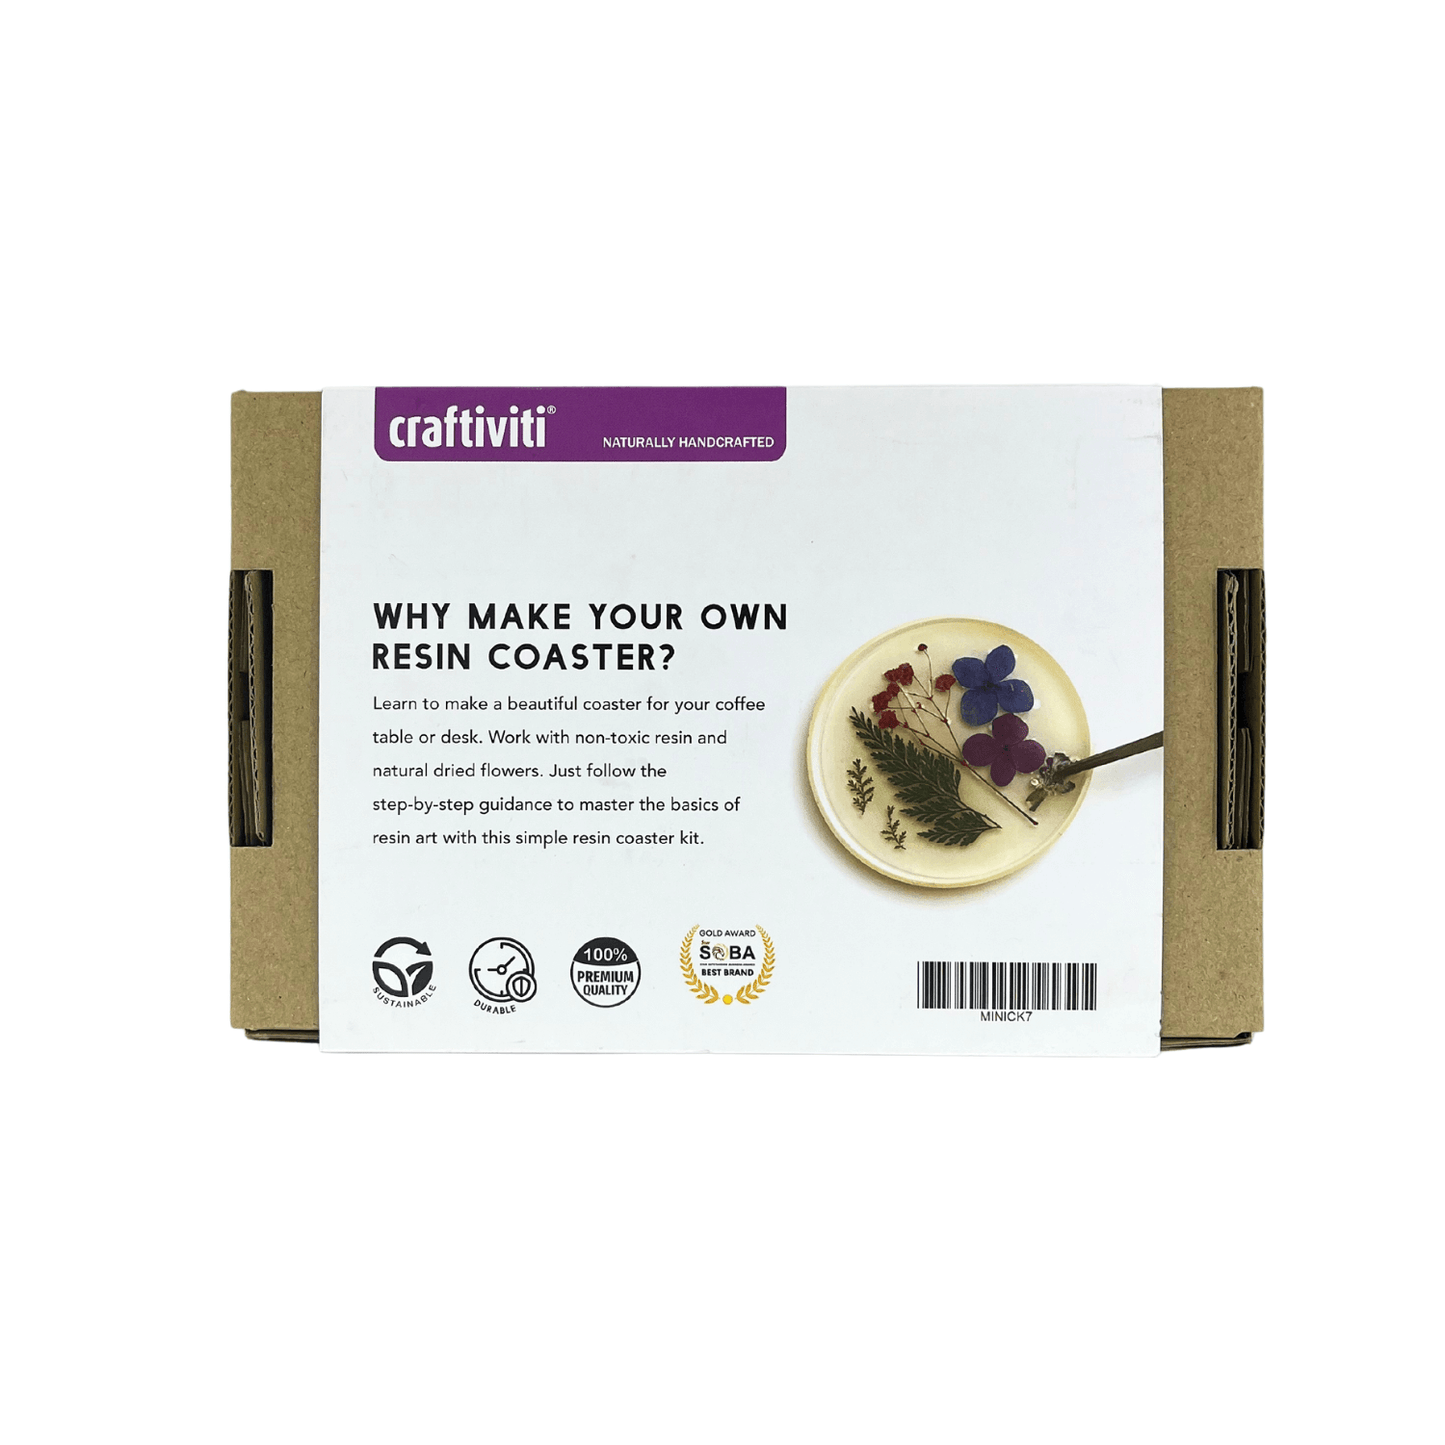
Here's a beginner's guide on how to safety and confidently work with Epoxy Resin to create wonderful works of art. Read up on tips, tools and tricks on crafting with this versatile liquid plastic.
Basic Resin Ingredients
RESIN Ingredients
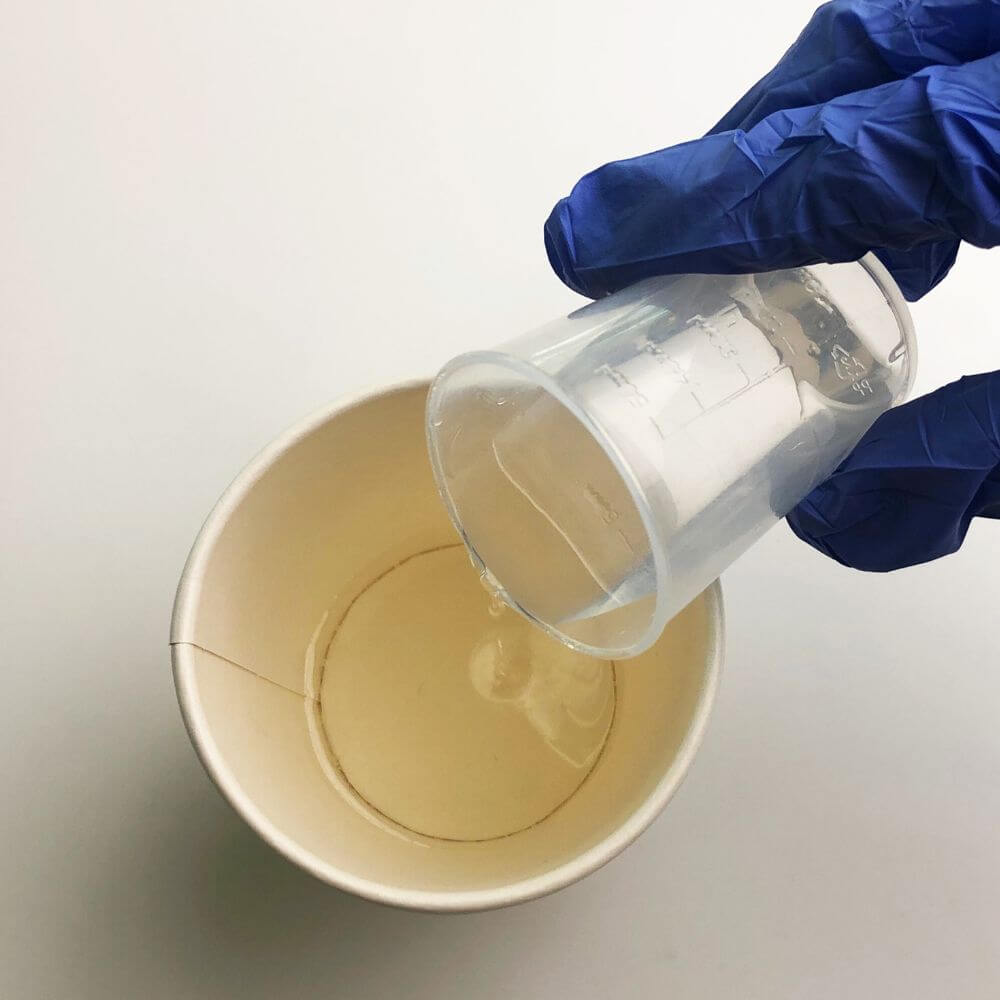
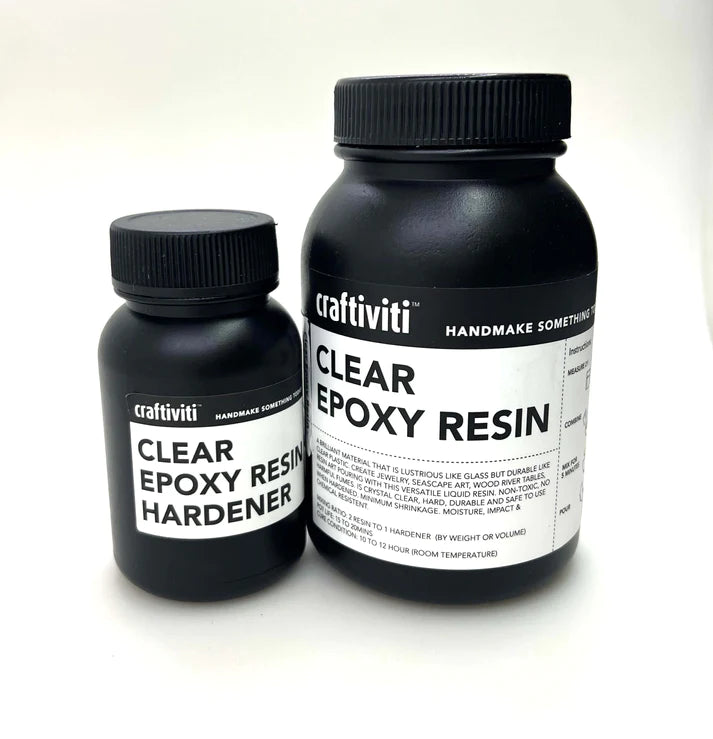
EPOXY RESIN
A good quality resin will create high clarity, durable pieces that will last a long time. Some resins in the market can be poisonous and cannot be used indoors as it creates toxic fumes during mixing. We work with fumeless, odorless and toxic-free Epoxy Resin to ensure fun and safety.
RESIN INGREDIENTS
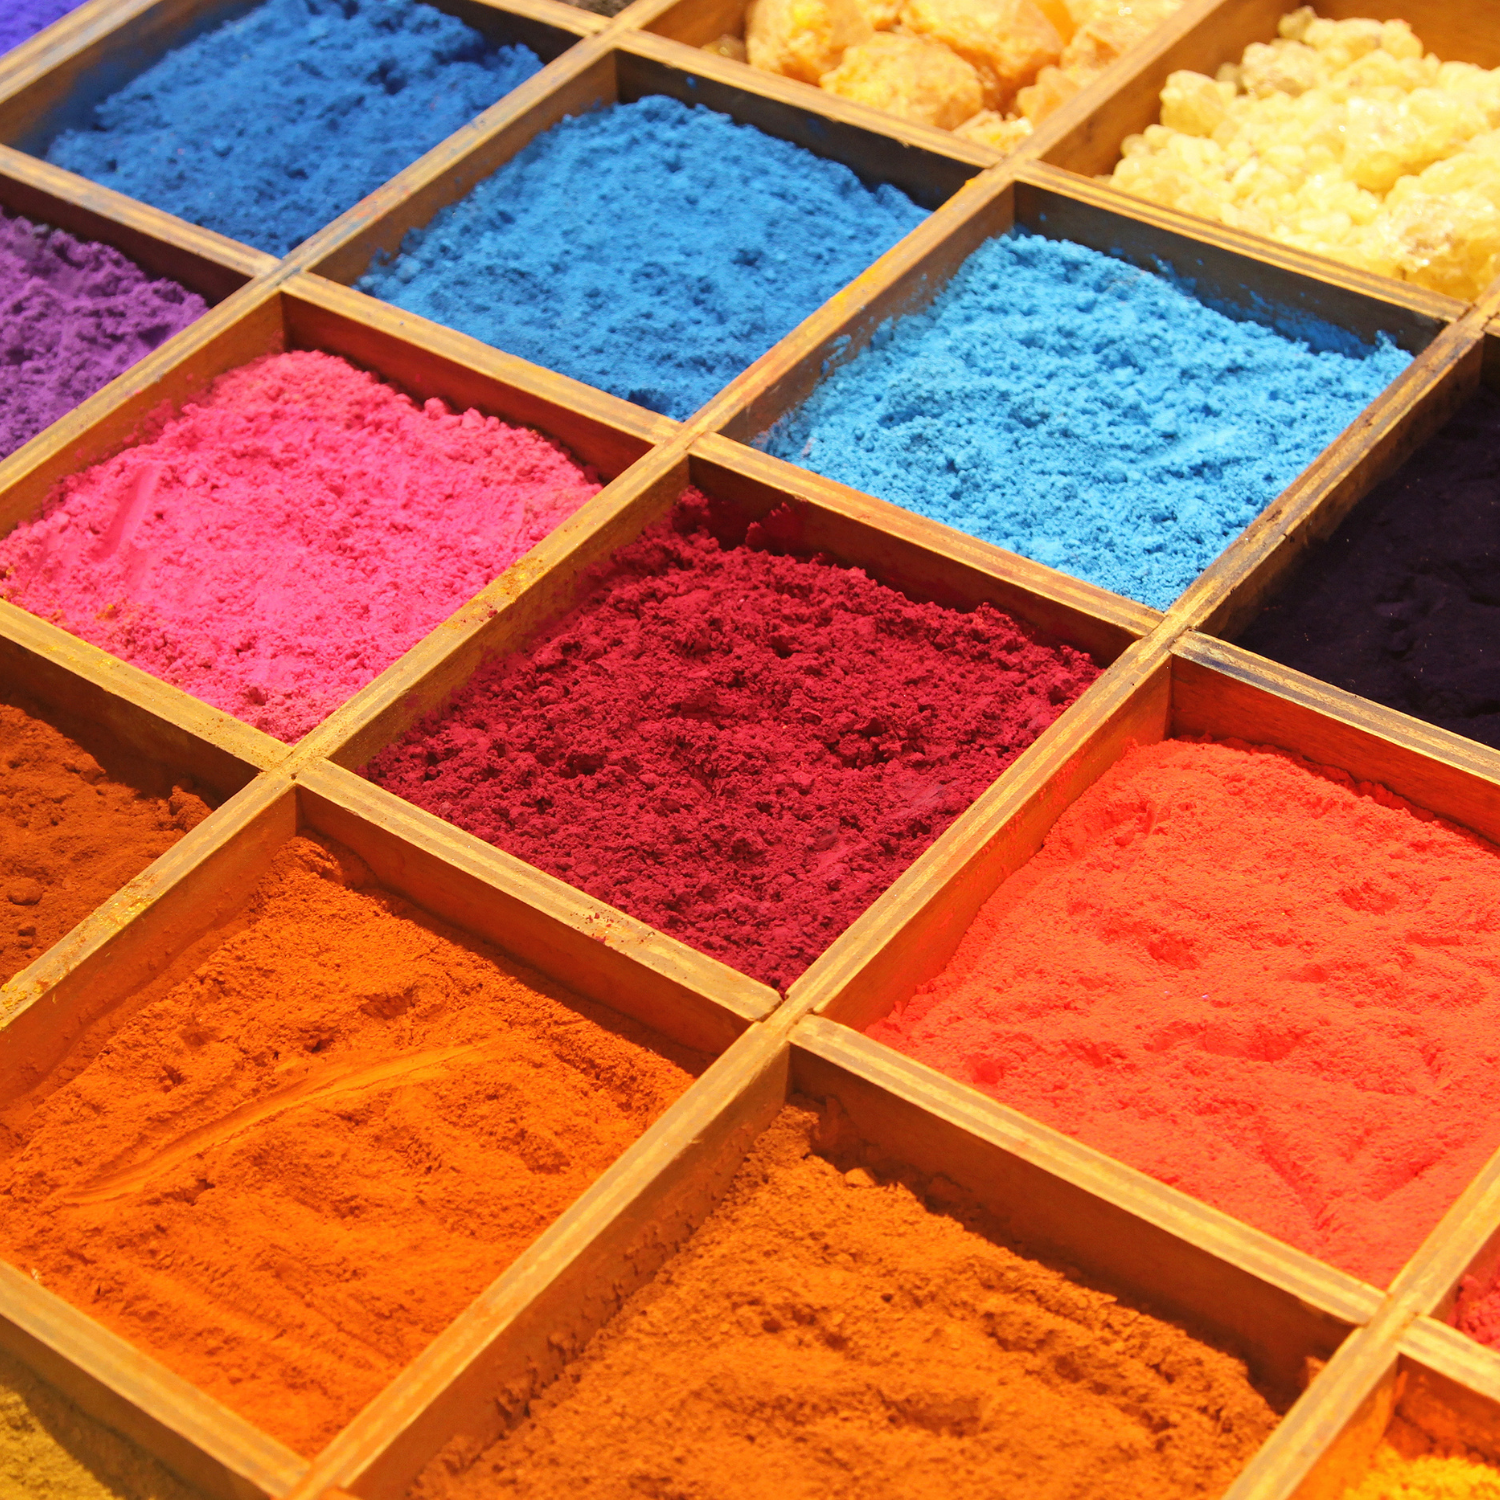
PIGMENTS
Glitters, pigments, micas all add to the beauty and versatility of resin art. Pigments come in liquid or powder form depending on what you prefer to work with. It is normal for all clear resin to turn yellow over time through exposure to UV rays, so adding color to resin will tint this effect.
RESIN INGREDIENTS
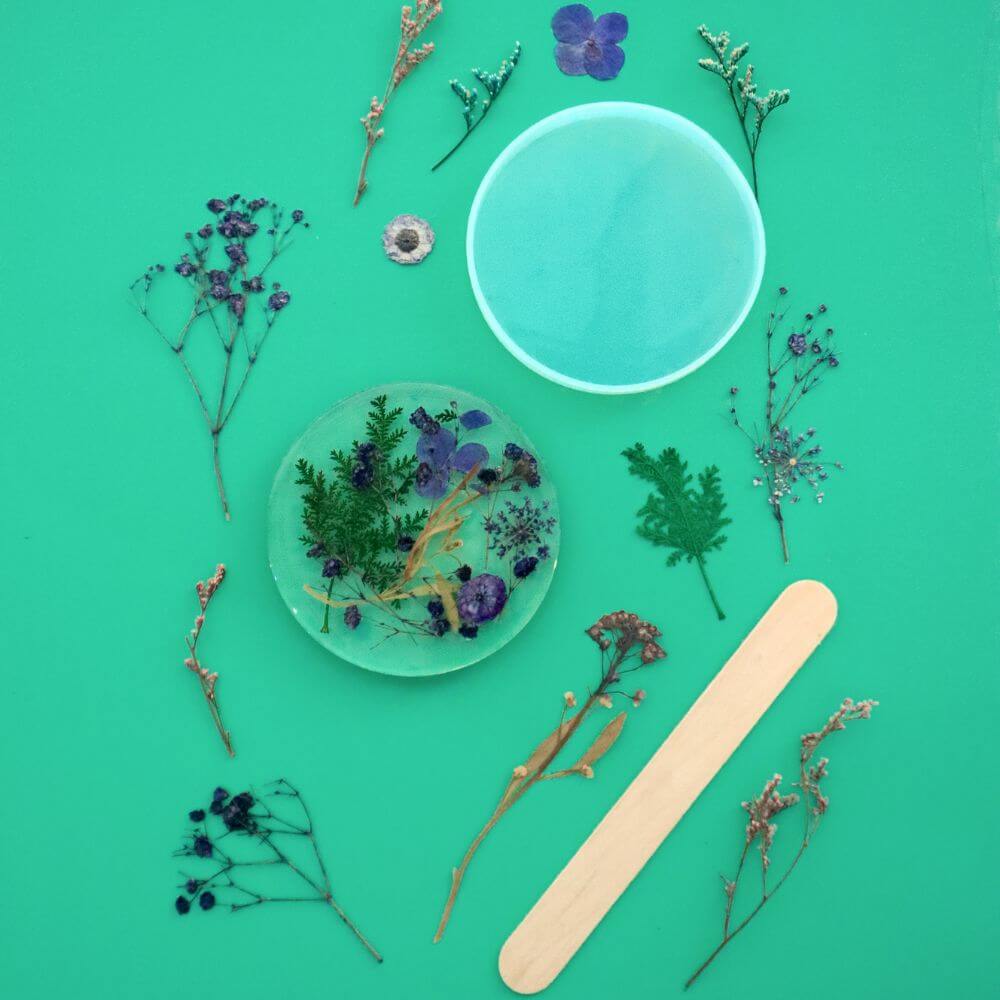
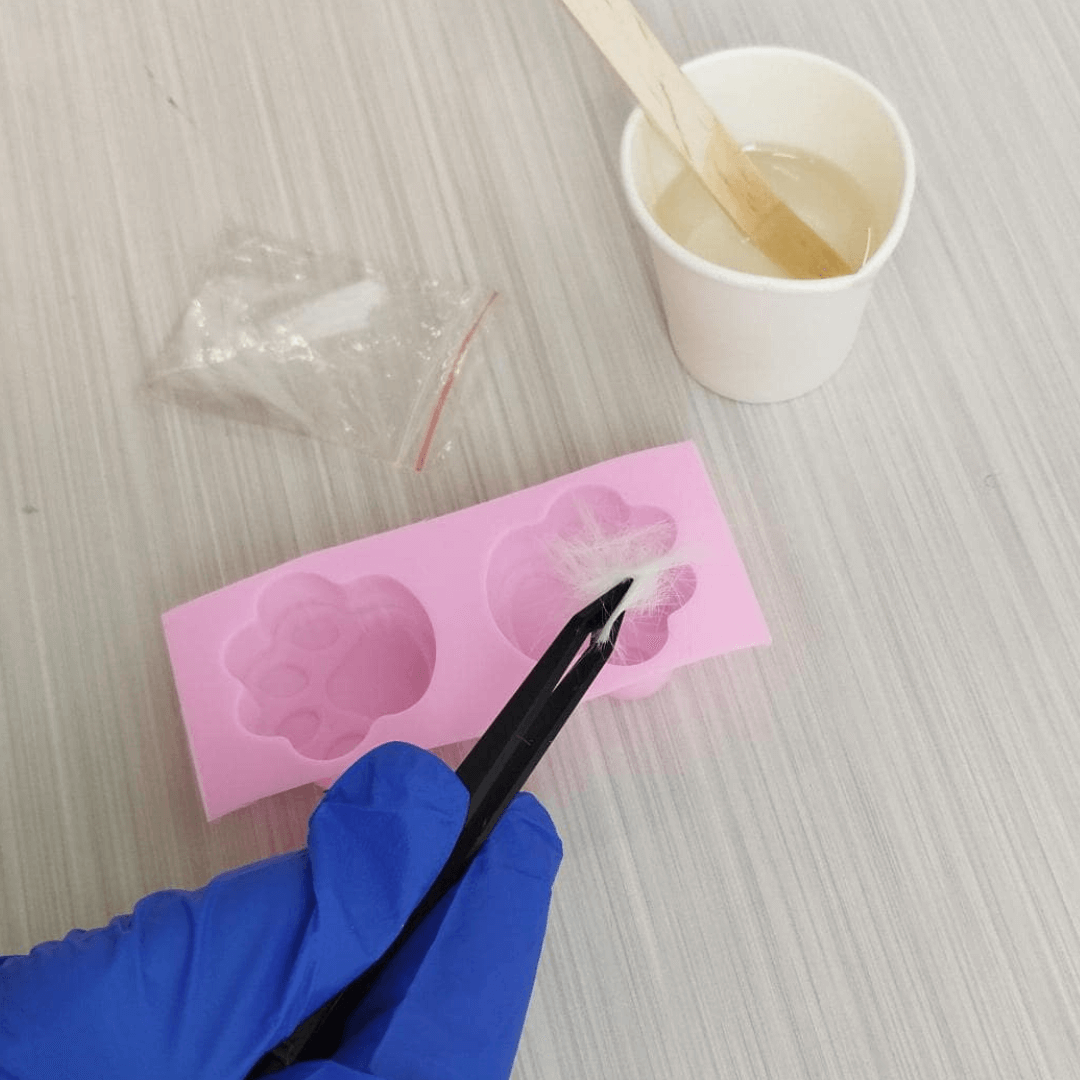
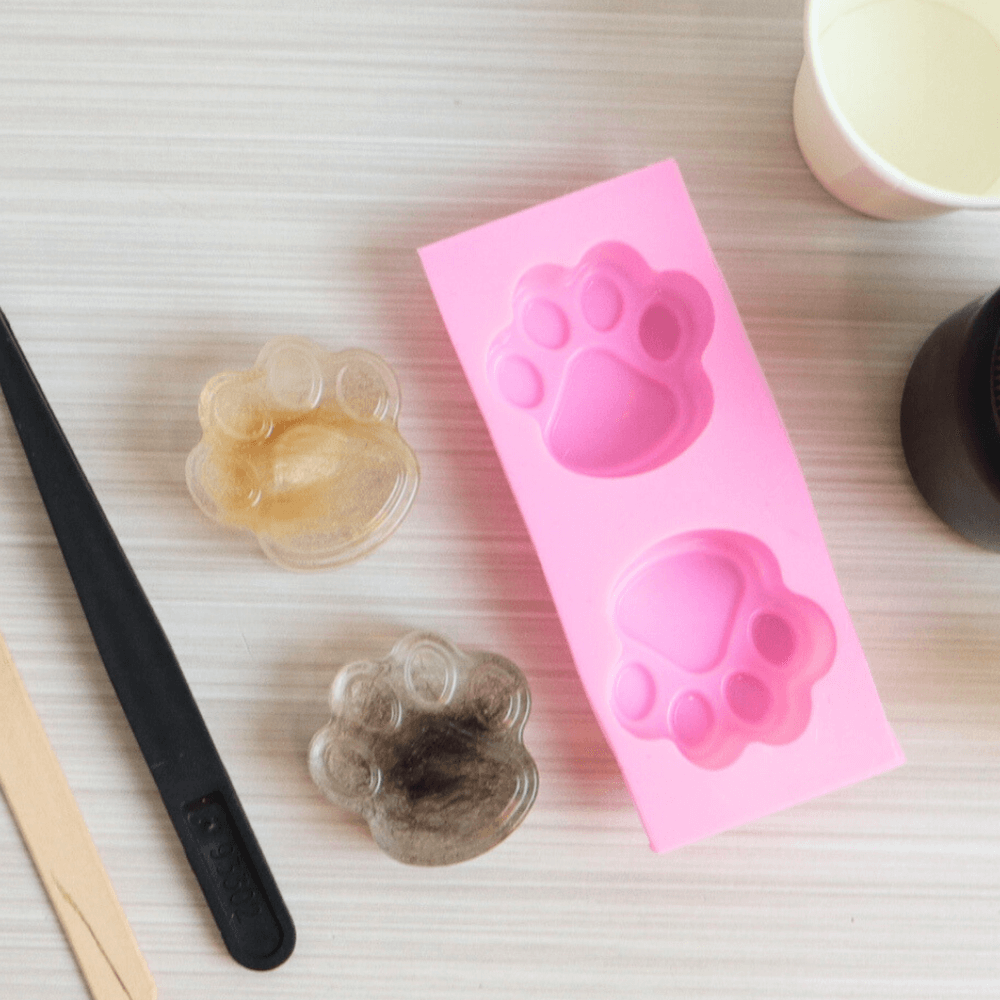
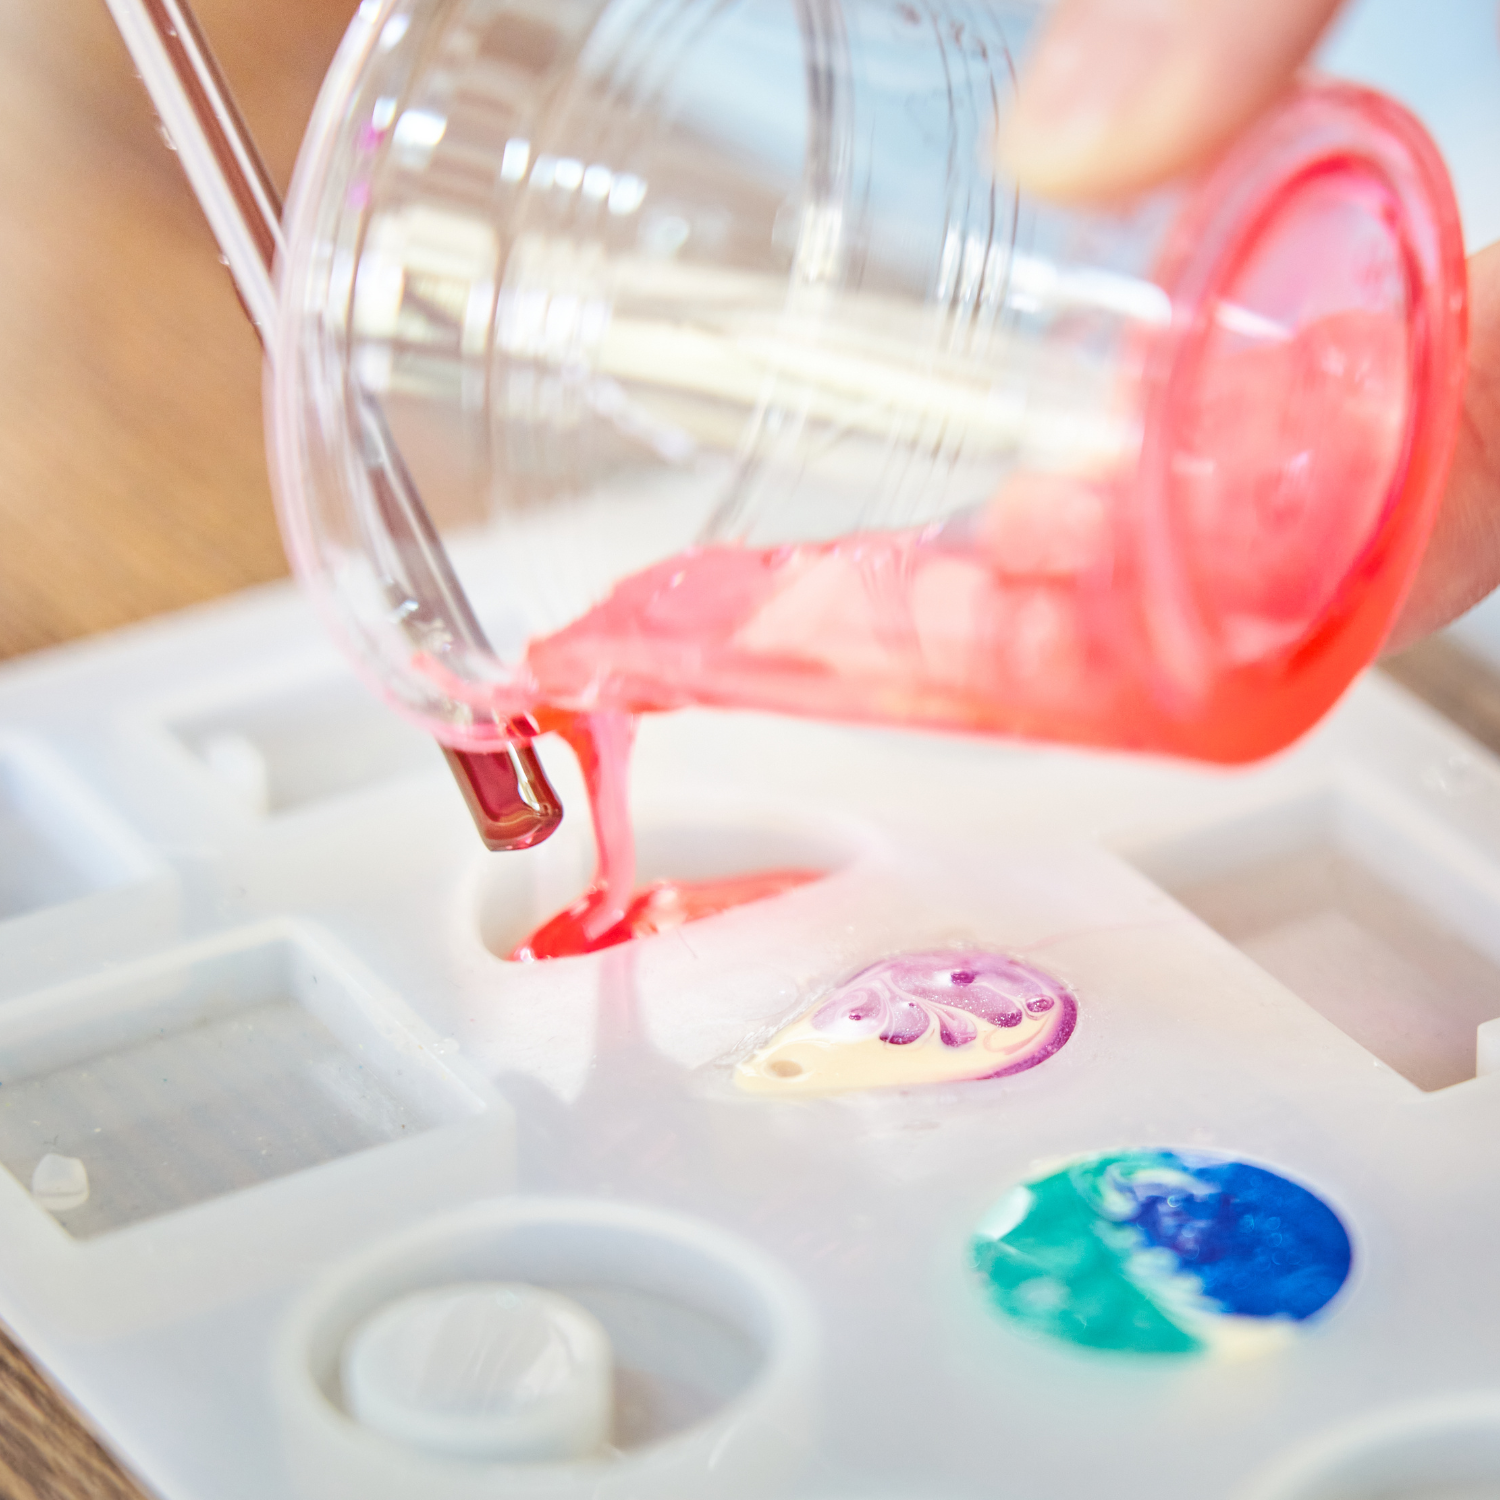
MOLDS
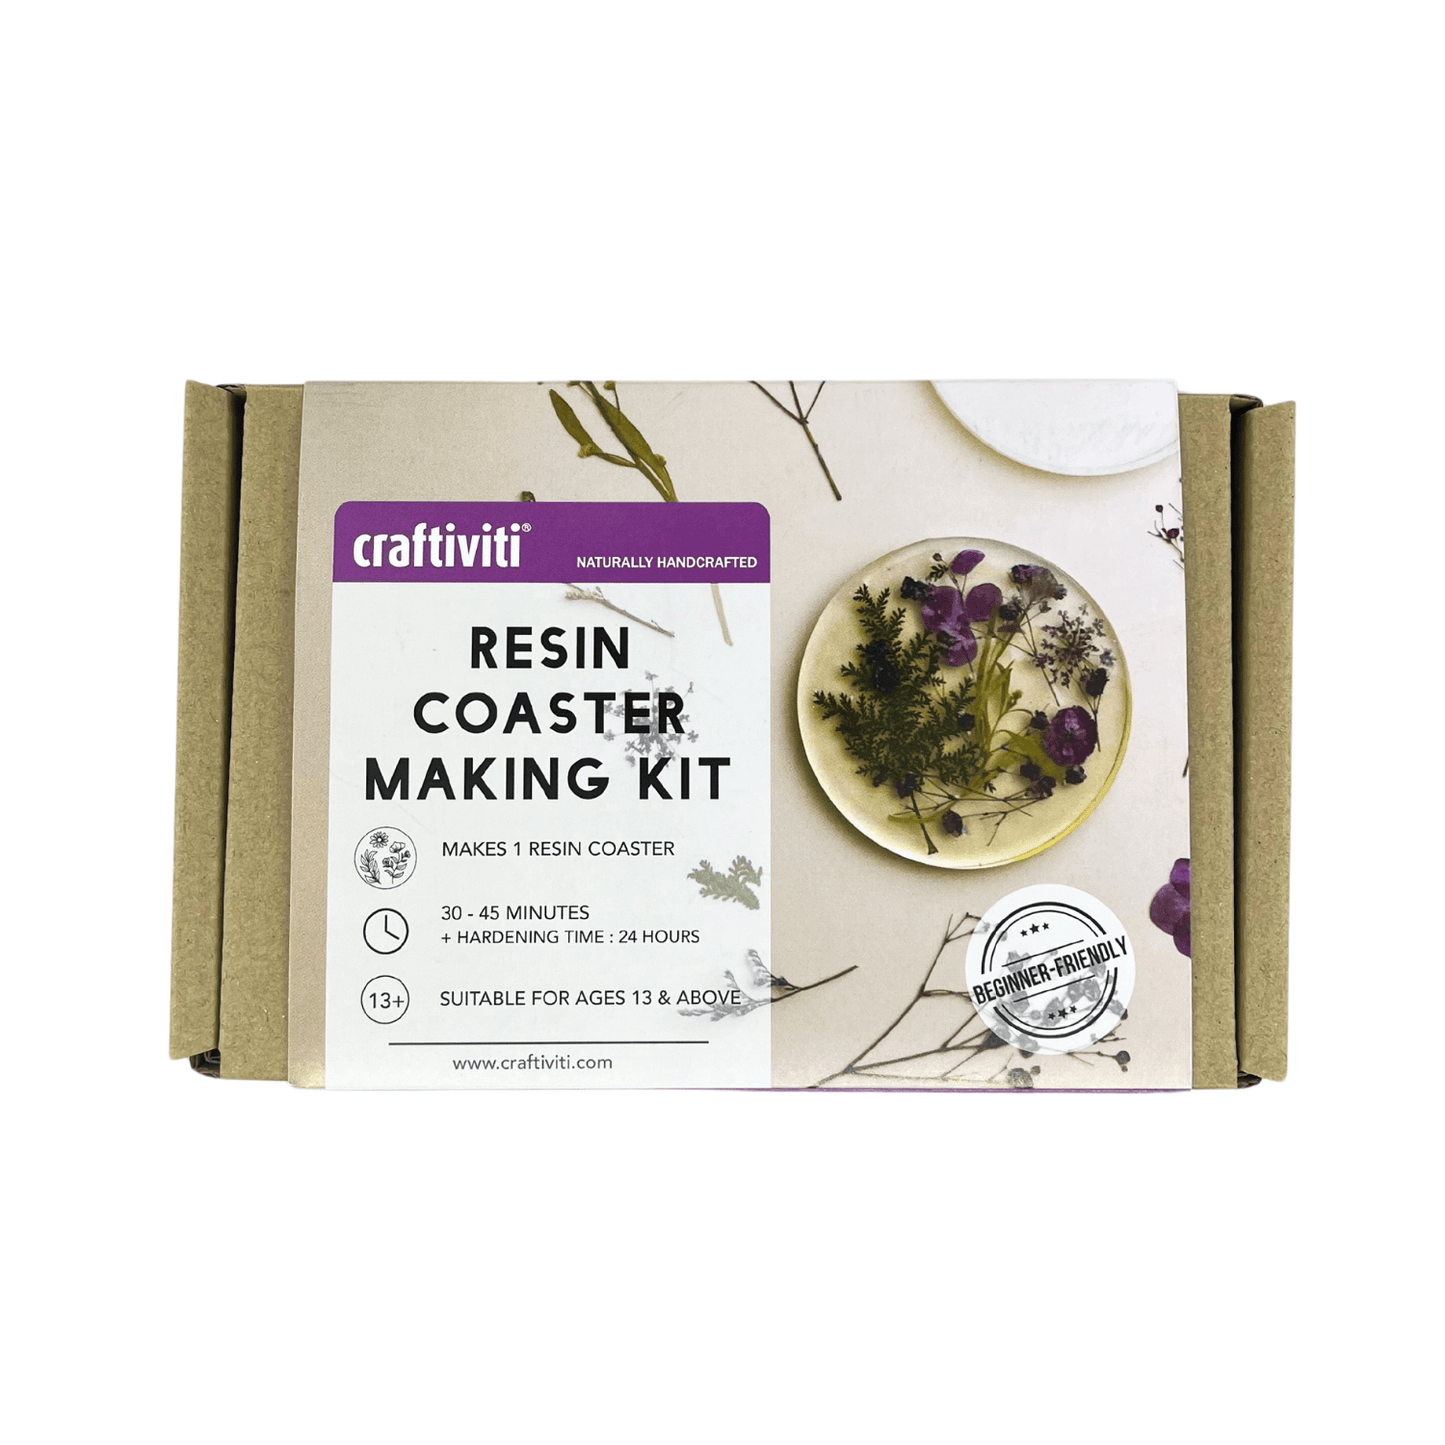
Resin molds help create any different shapes. Resins make beautiful soap dishes and candle holders or coasters. You can also make combs, bookmarks, phone holders with Epoxy resin. The creations are endless!

RESIN INGREDIENTS
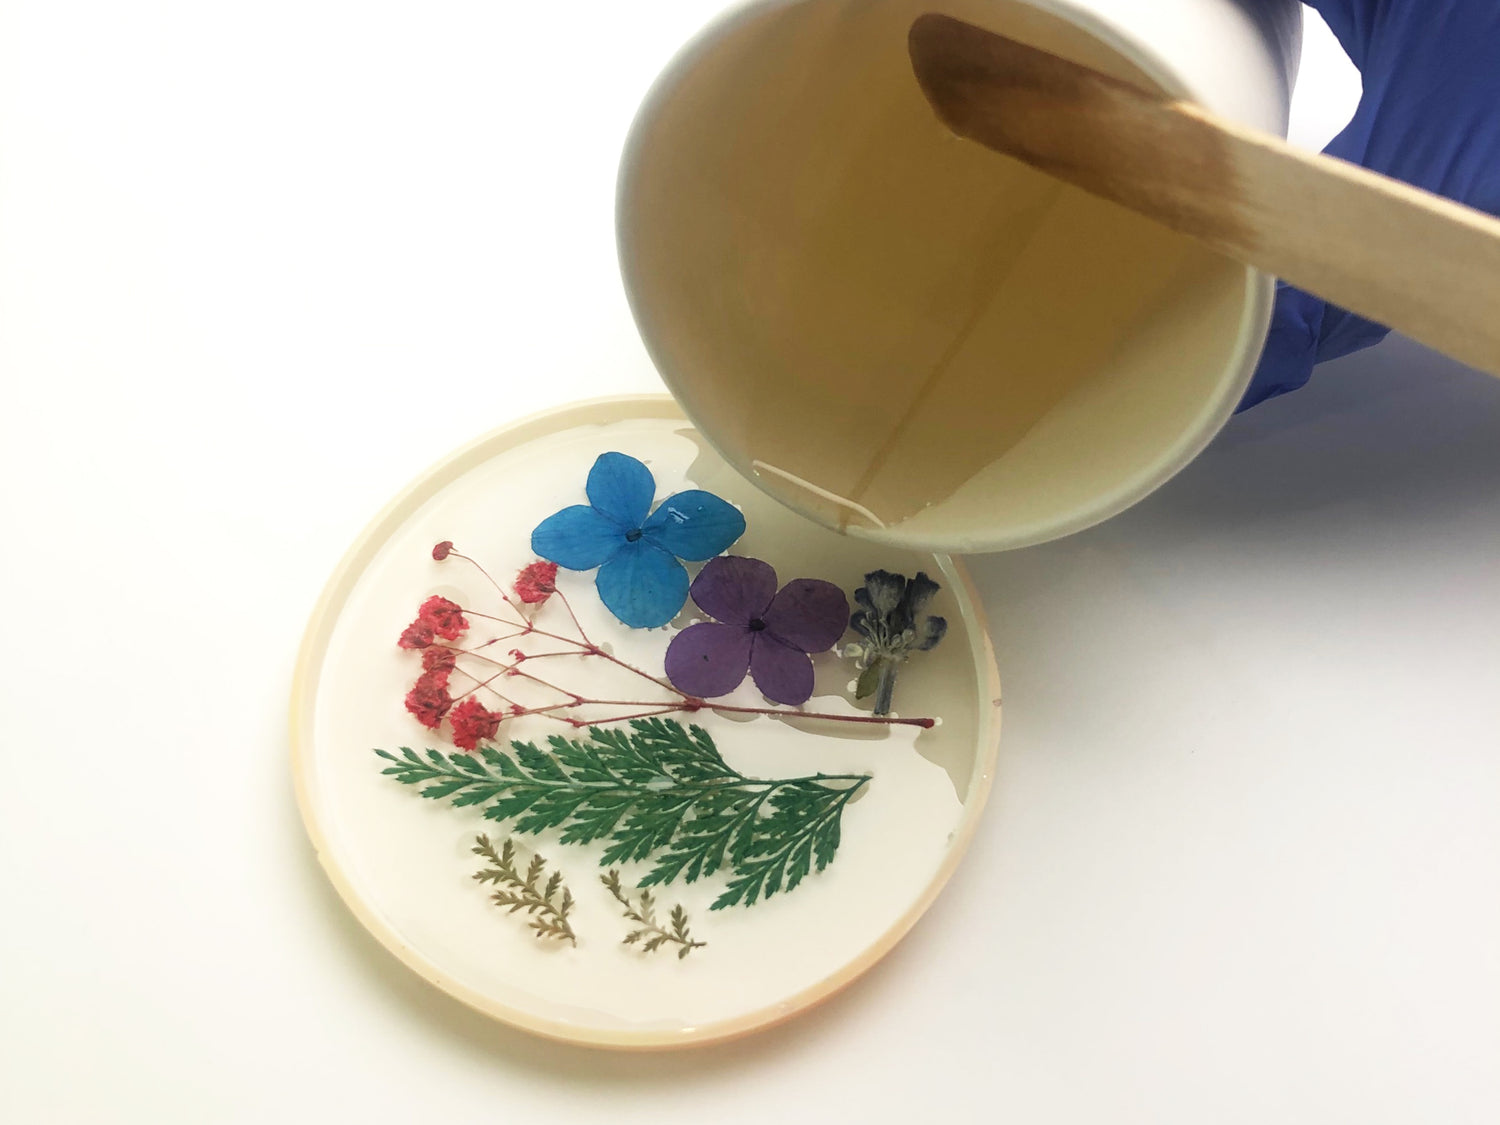
OTHER INGREDIENTS
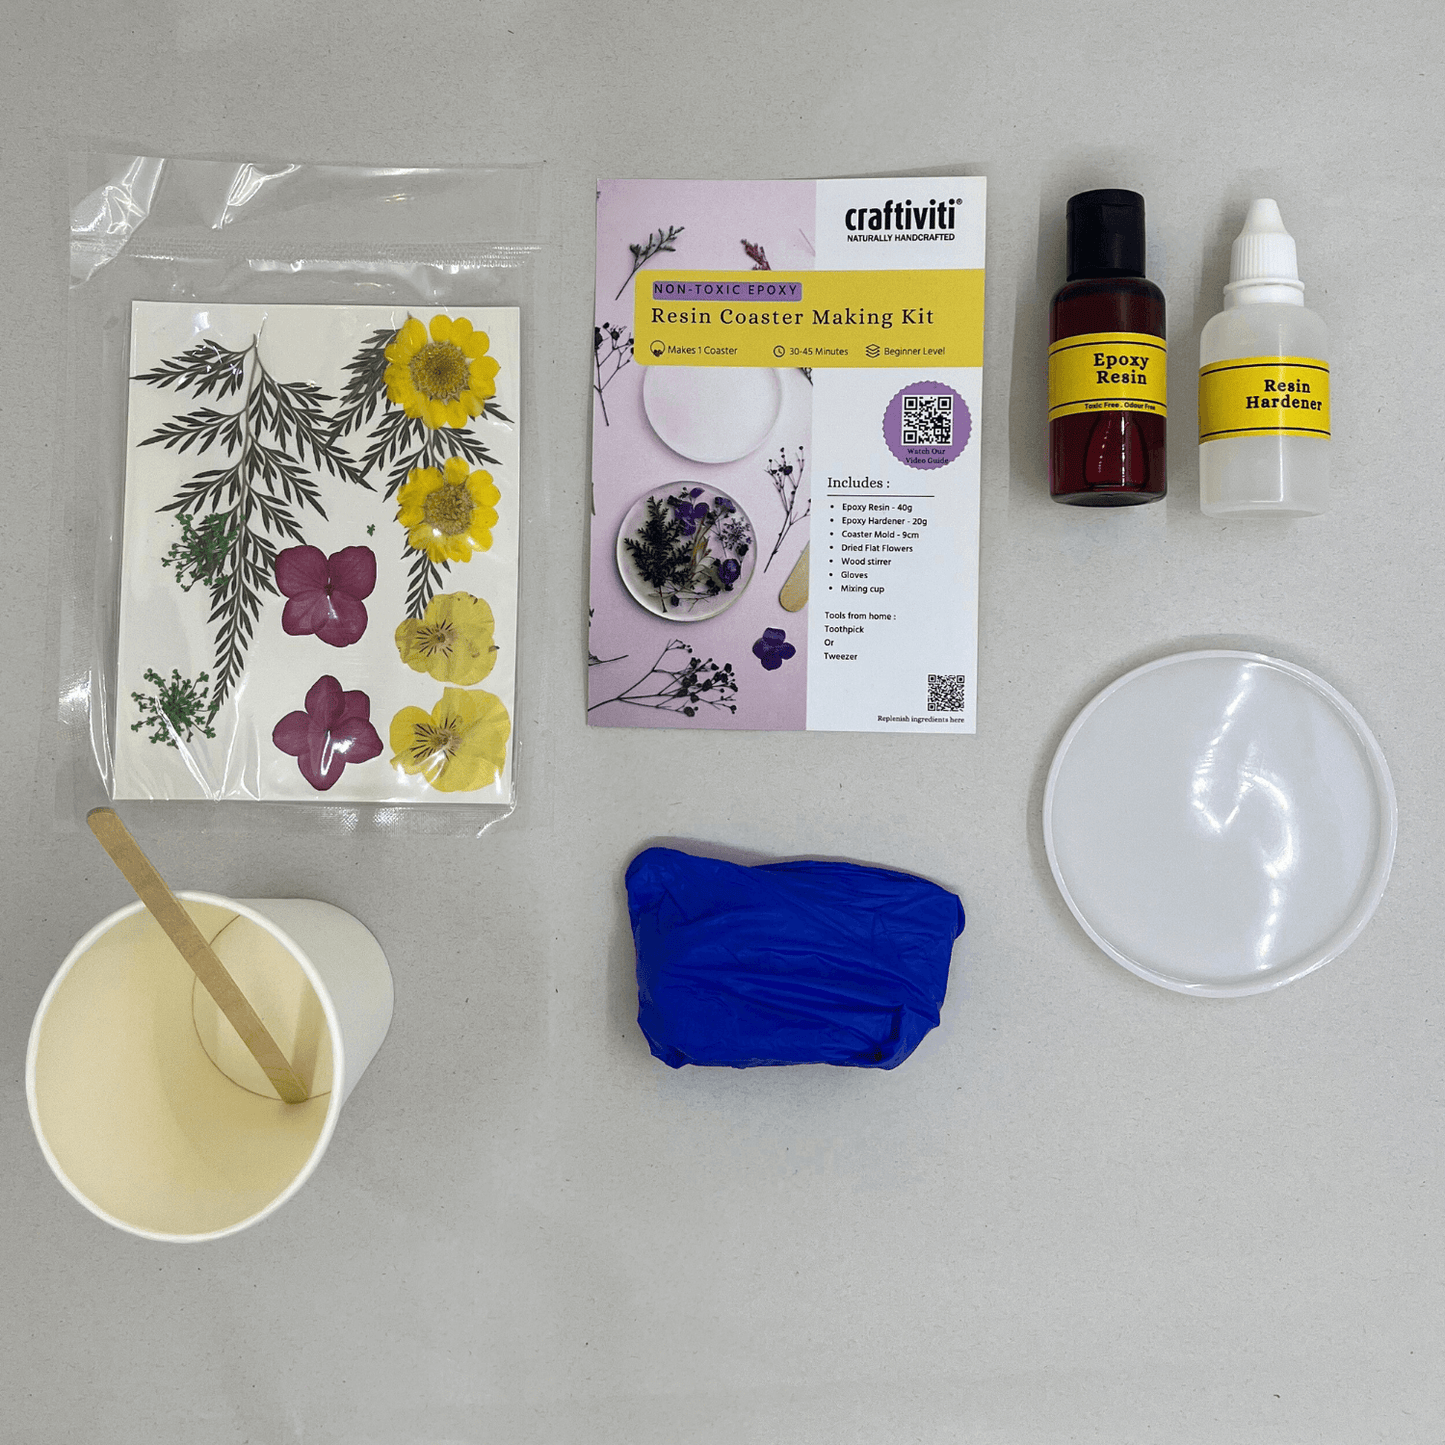
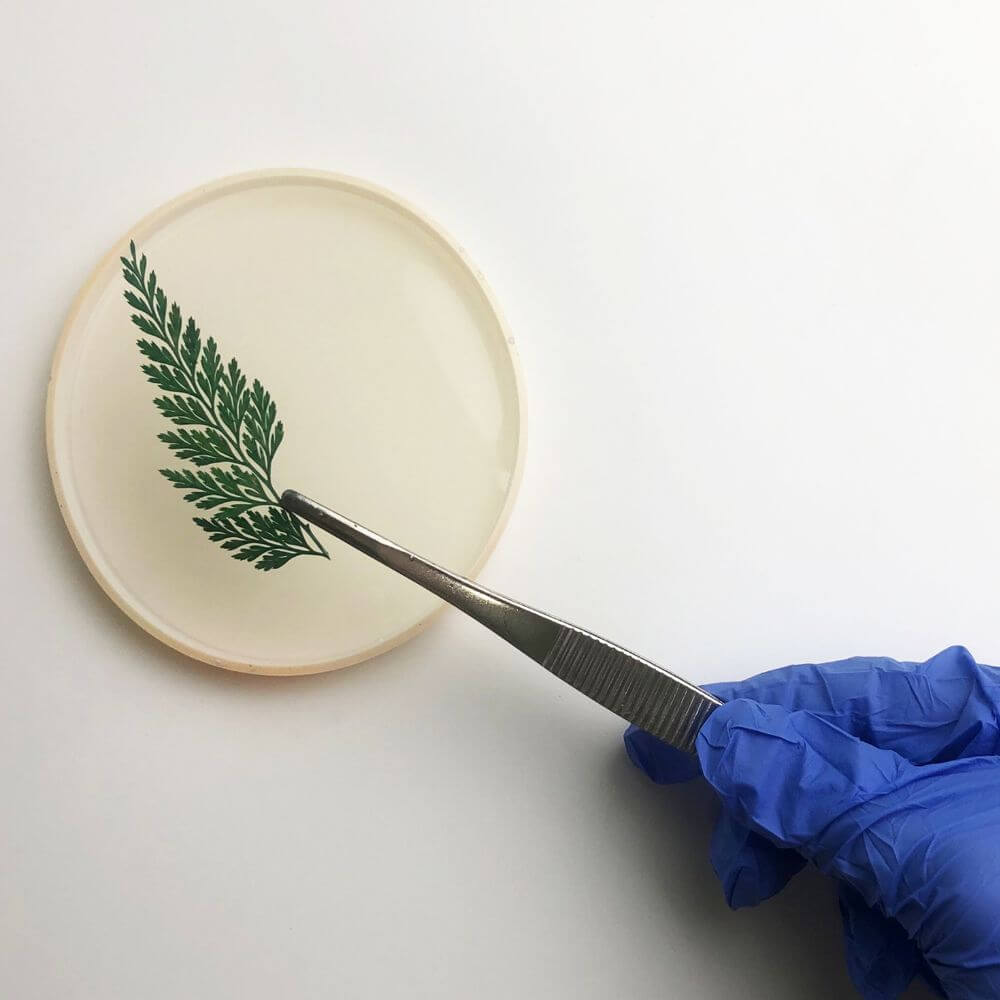
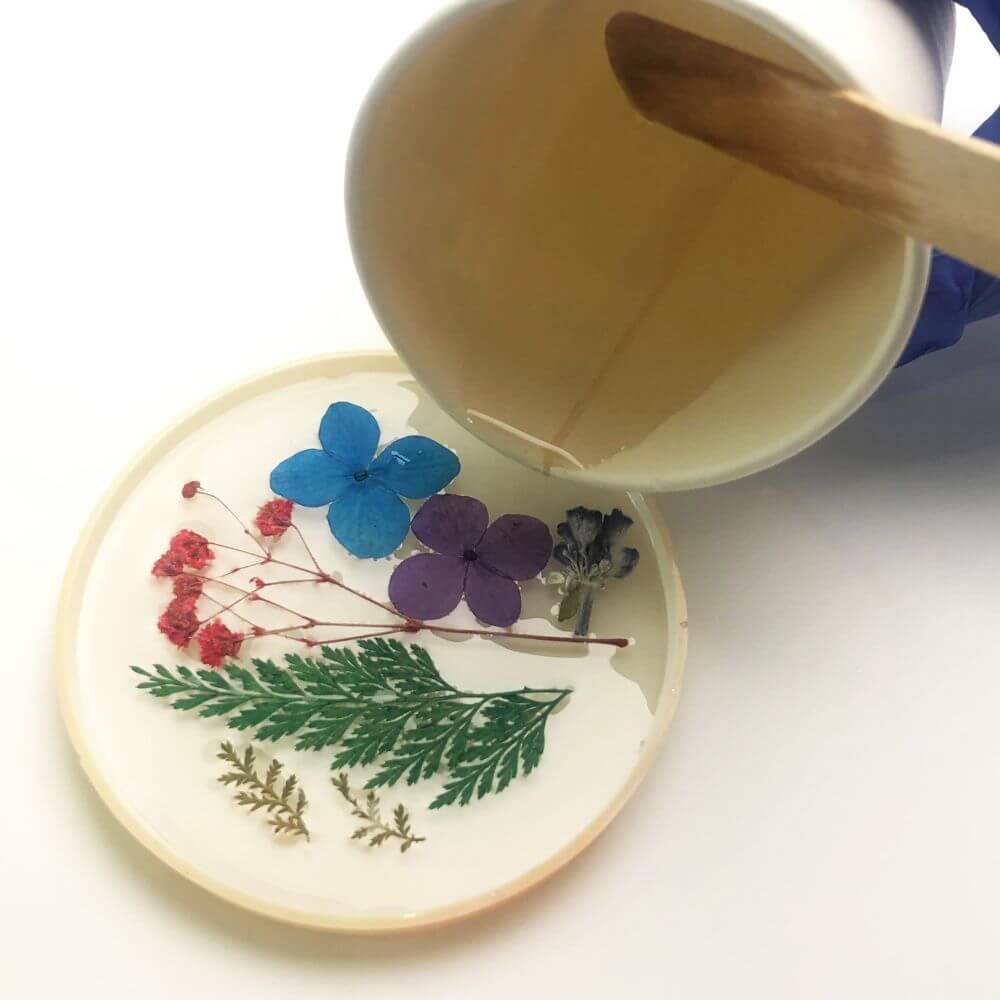
Add dried flowers, stones, crystals, shells and more to design a resin piece that is uniquely YOU.
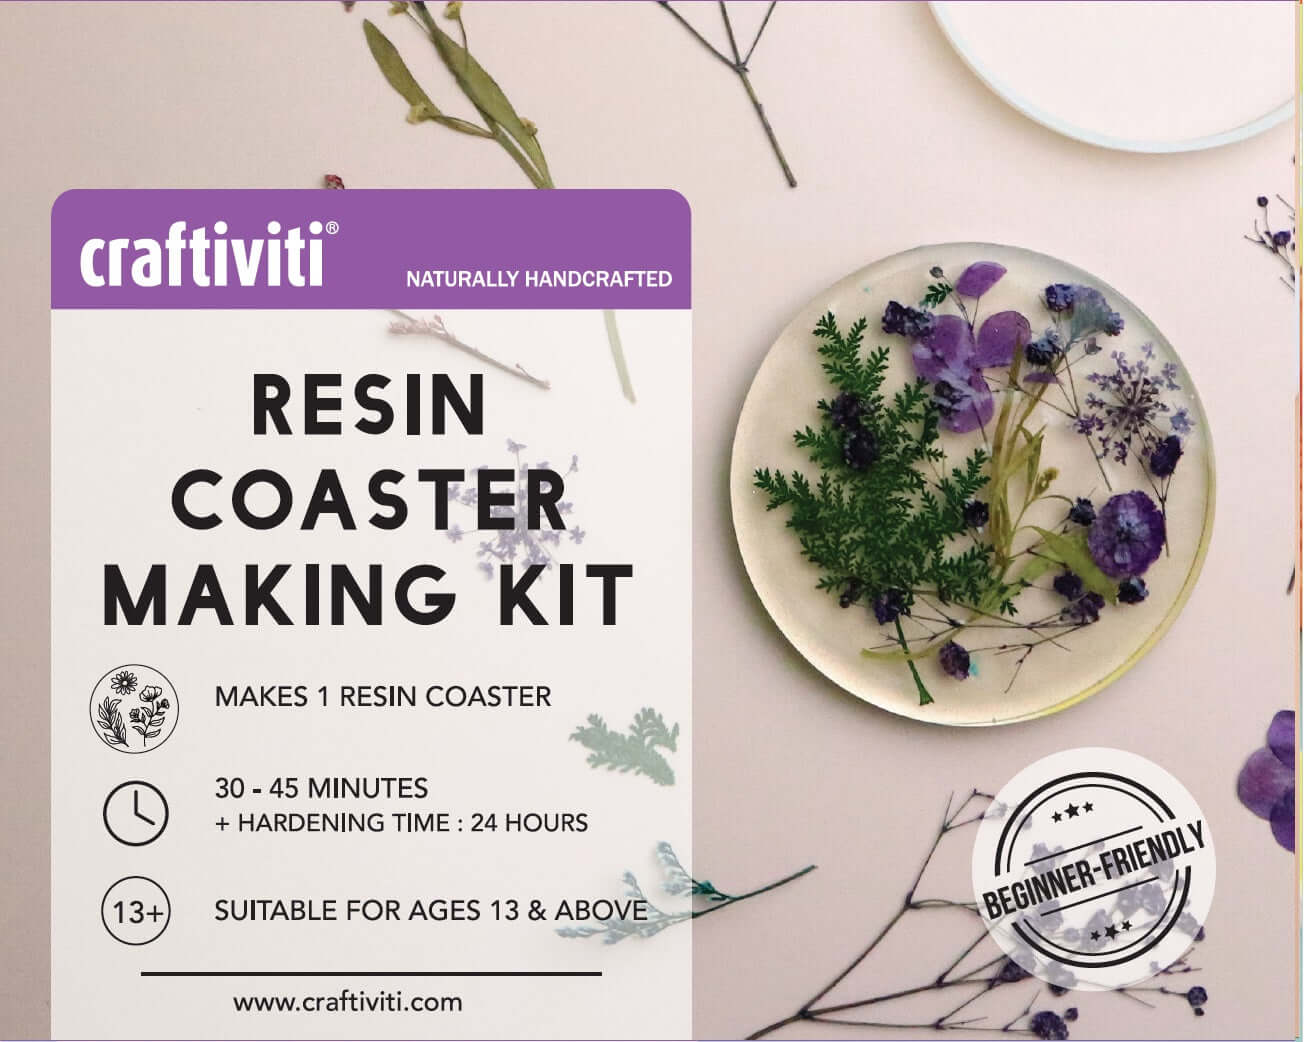
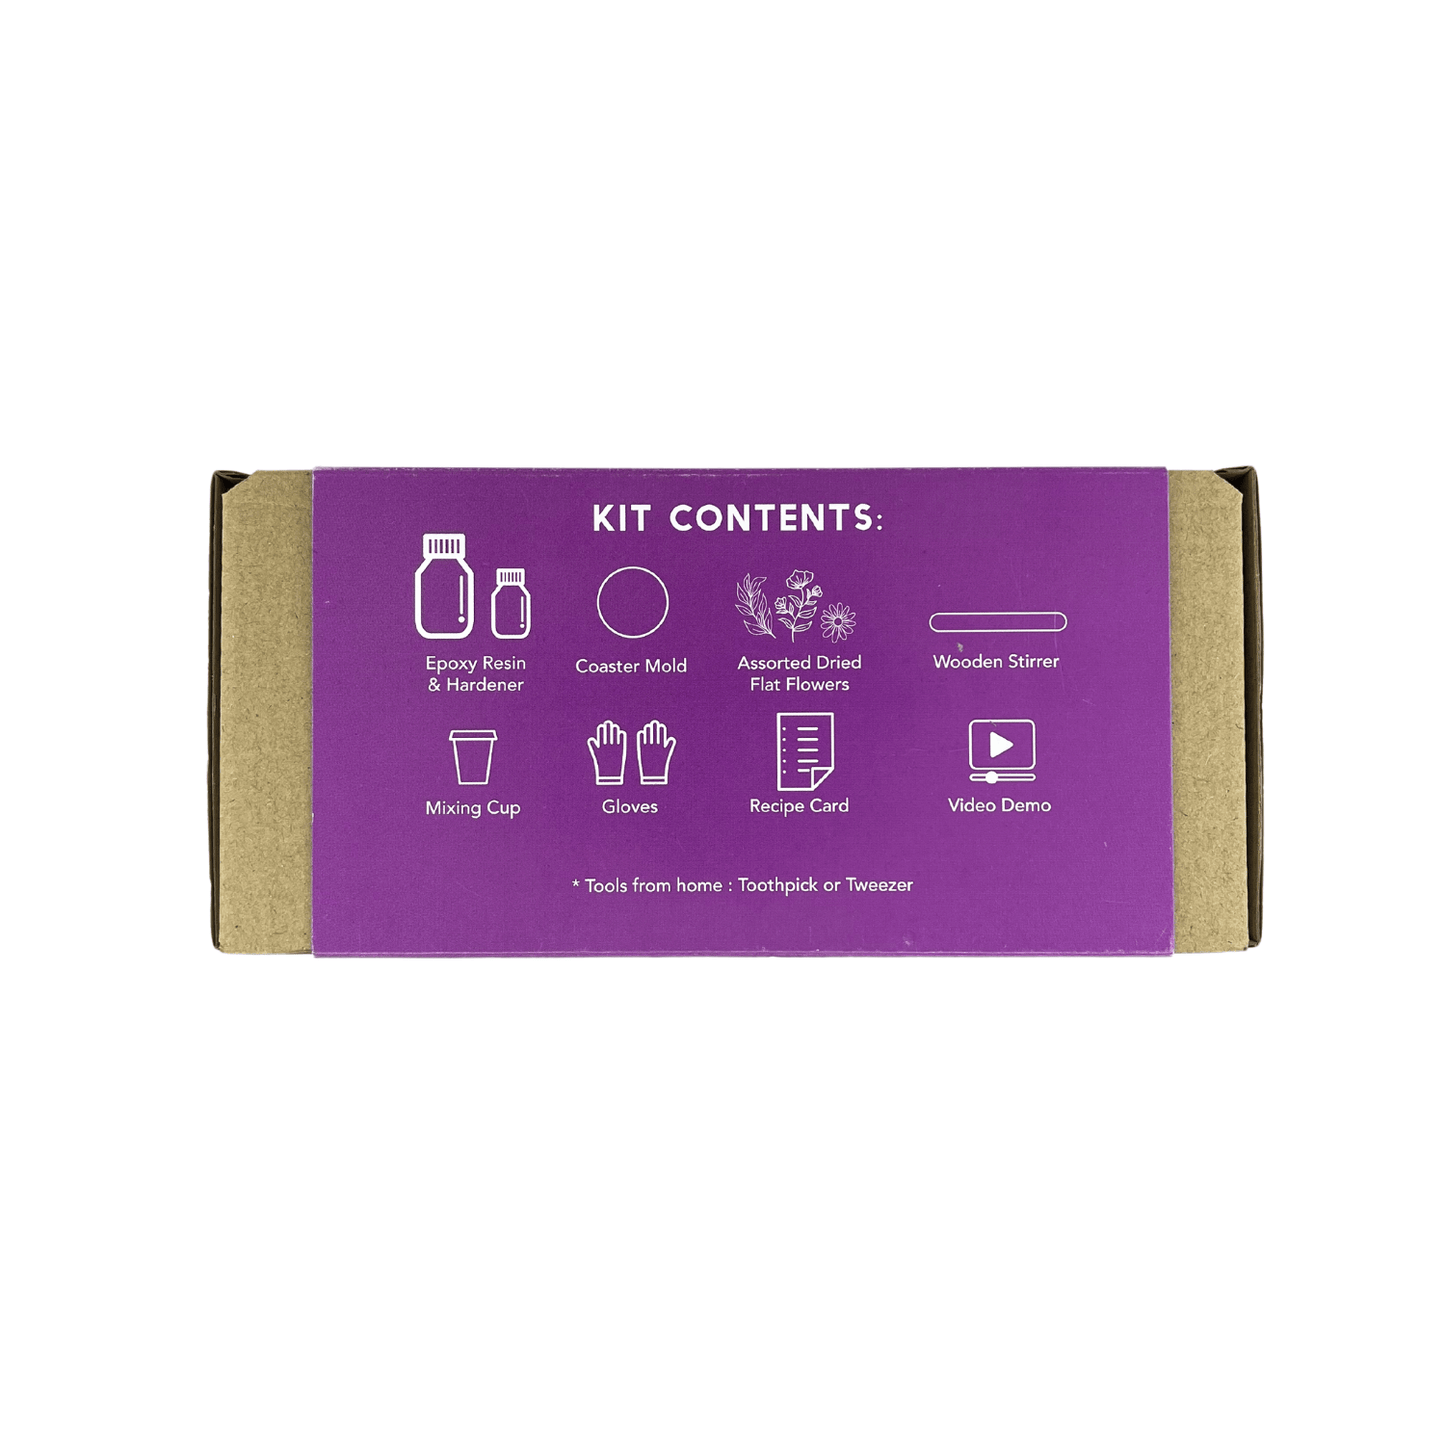
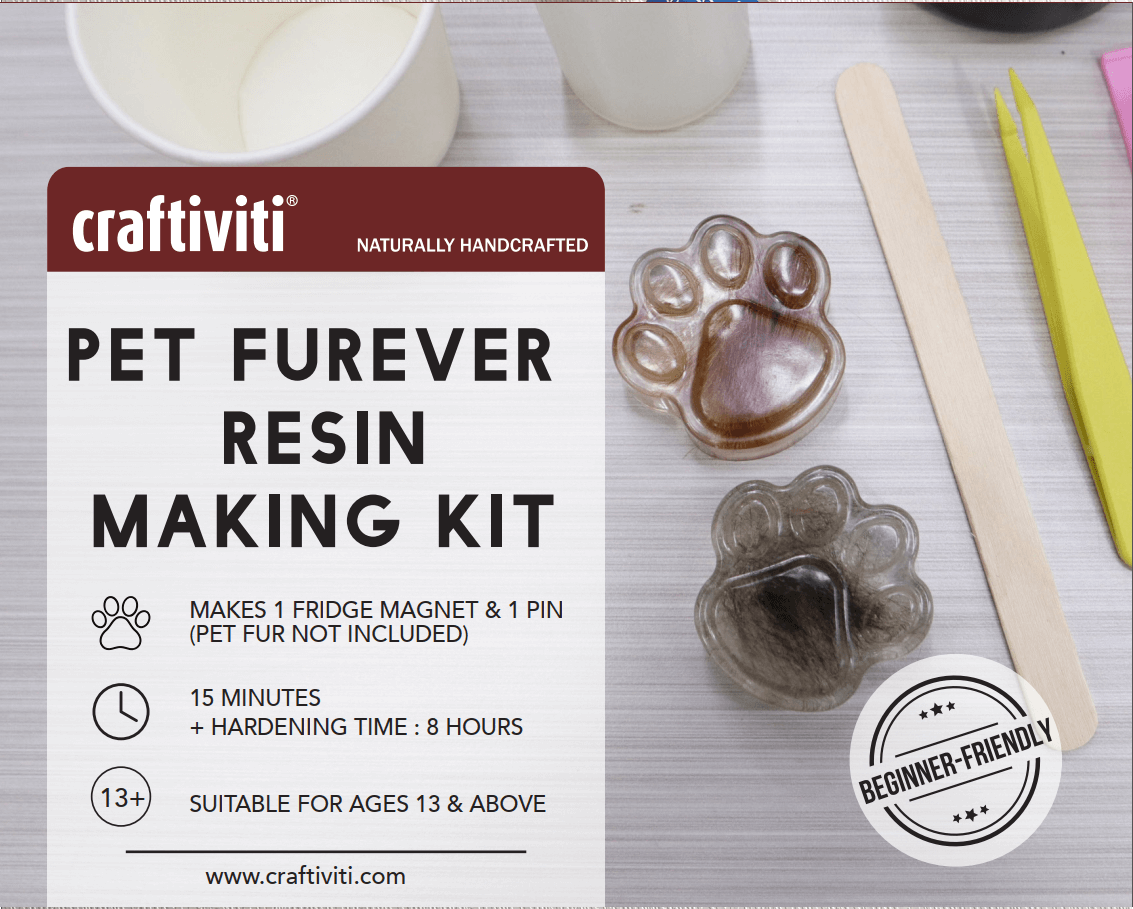
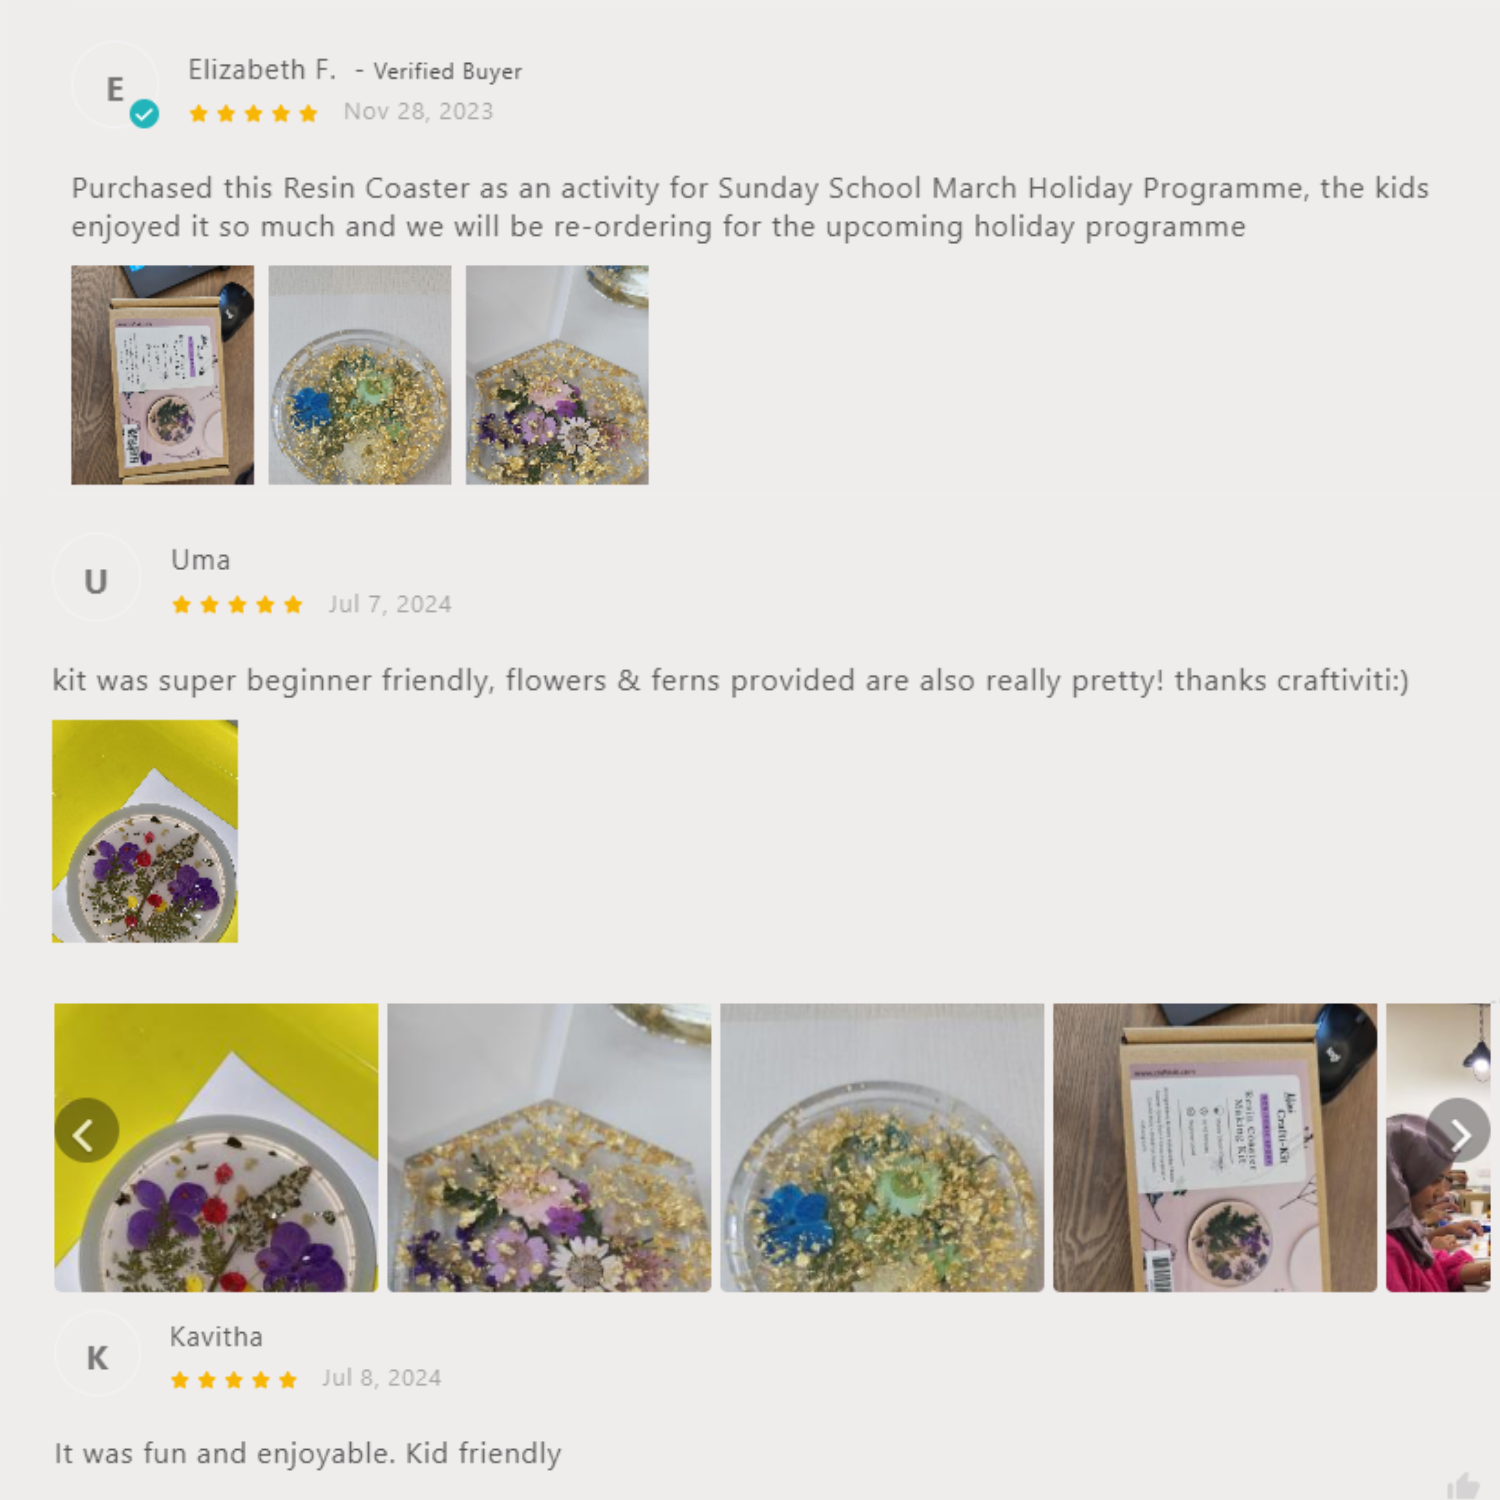
Easy Beginner Resin Kits