

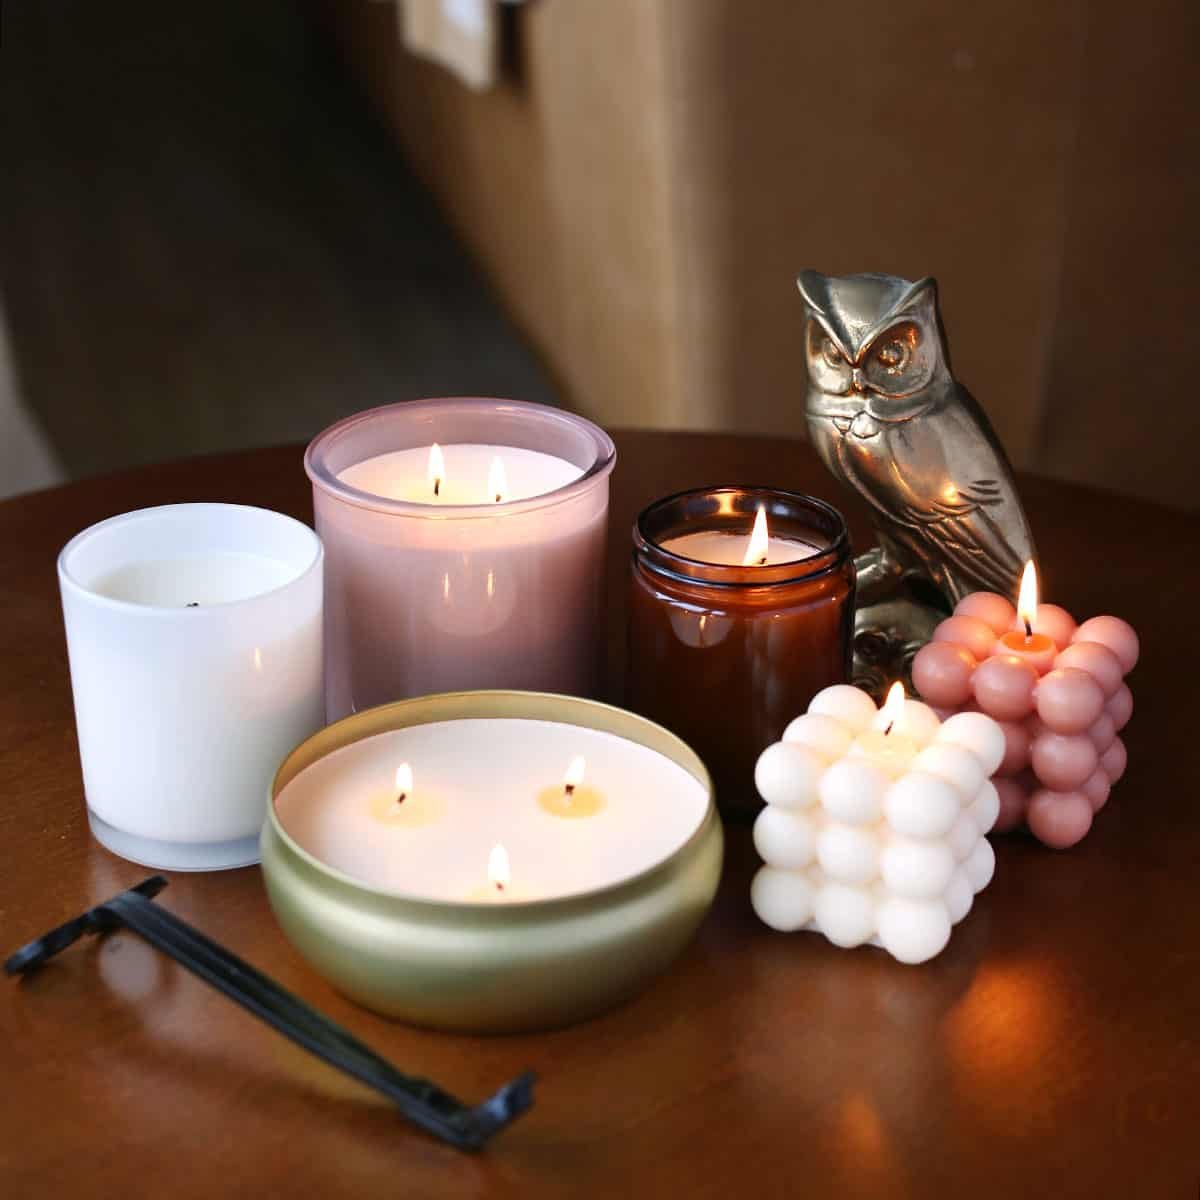
Candle Making Tips: 15 Expert Secrets for Beautiful Handmade Candles Every Time
Candle making has become one of the most popular DIY crafts in recent years—and it's easy to see why. Creating your own candles allows you to customize scents, colours, containers, and designs while enjoying a relaxing and rewarding creative process.
But if you've ever experienced sinkholes, frosting, weak scent throw, tunnelling, or uneven candle tops, you're not alone.
The good news is that most candle-making problems are preventable with the right techniques and quality ingredients.
Whether you're making candles for yourself, as gifts, or for your own small business, these candle making tips will help you create beautiful, professional-quality candles every time.
Why Learning Proper Candle Making Techniques Matters
Many beginners assume candle making is simply melting wax and pouring it into a container.
While the process is straightforward, several factors affect the final result:
- Wax type
- Fragrance load
- Wick size
- Pouring temperature
- Curing time
- Container choice
Understanding these fundamentals can significantly improve the appearance, scent throw, and burn performance of your candles.

1. Start with High-Quality Candle Making Supplies
The quality of your ingredients directly impacts your finished candle.
Invest in:
- Premium candle wax
- High-quality fragrance oils
- Reliable candle wicks
- Heat-resistant containers
Using quality materials makes troubleshooting much easier and produces more consistent results.
Remember: even the best techniques can't compensate for poor ingredients.

2. Choose the Right Wax
Different waxes have different characteristics.
Soy Wax
One of the most popular choices for beginners because it:
- Burns cleanly
- Has excellent scent throw
- Is renewable and plant-based
- Produces beautiful container candles
Beeswax
A natural wax with a long burn time and subtle honey aroma.
Paraffin Wax
Offers strong fragrance performance but is petroleum-based.
Coconut Wax
Known for its luxurious appearance and exceptional scent retention.
For beginners, soy wax is often the easiest and most forgiving option.
3. Measure Ingredients by Weight
One of the biggest mistakes new candle makers make is measuring ingredients by volume.
Professional candle makers always use a digital scale.
Why?
Wax and fragrance oils have different densities, so measuring by weight ensures:
- Consistent results
- Accurate fragrance percentages
- Better candle performance
A small digital scale is one of the best investments for your candle-making journey.

4. Use the Right Amount of Fragrance Oil
Adding more fragrance doesn't necessarily create a stronger candle.
In fact, using too much fragrance oil can cause:
- Sweating
- Poor burning
- Fragrance separation
- Soft candle surfaces
Most soy waxes perform best with fragrance loads between 8% and 12%.
Always follow the recommendations for your specific wax.

5. Select the Correct Wick
The wick is often called the engine of a candle.
Choosing the wrong wick can result in:
Wick Too Small
- Tunnelling
- Weak scent throw
- Incomplete melt pool
Wick Too Large
- Excessive heat
- Soot production
- Mushrooming
- Shorter burn time
Always perform test burns before committing to a final recipe.
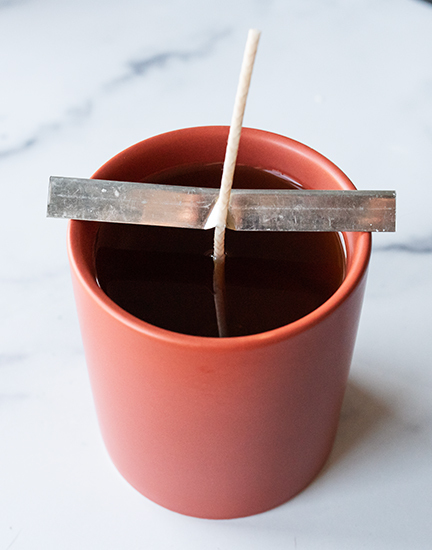
6. Secure the Wick Properly
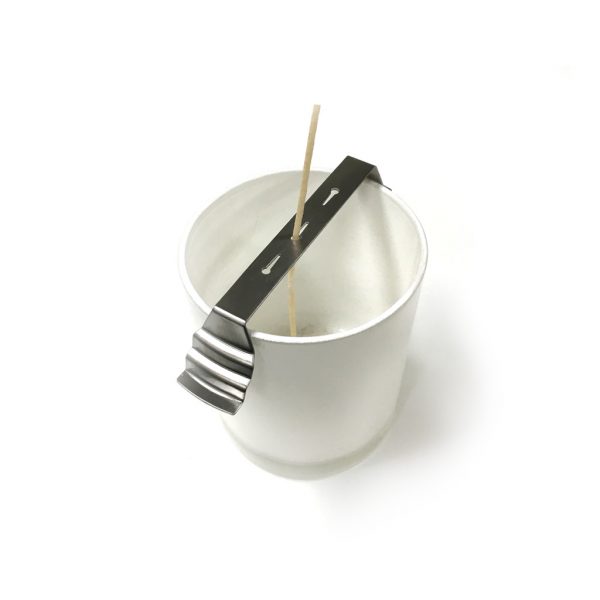
A centred wick is essential for an even burn.
Before pouring wax:
- Attach the wick securely to the bottom of the container
- Use wick stickers or glue dots
- Hold the wick upright with a wick holder
A crooked wick often leads to uneven burning and wasted wax.

7. Avoid Overheating Your Wax
Many beginners believe hotter wax produces better candles.
The reality is quite the opposite.
Overheating can:
- Damage fragrance oils
- Affect wax performance
- Cause discolouration
Always melt your wax according to the manufacturer's recommended temperature guidelines.
8. Stir Fragrance Oil Thoroughly
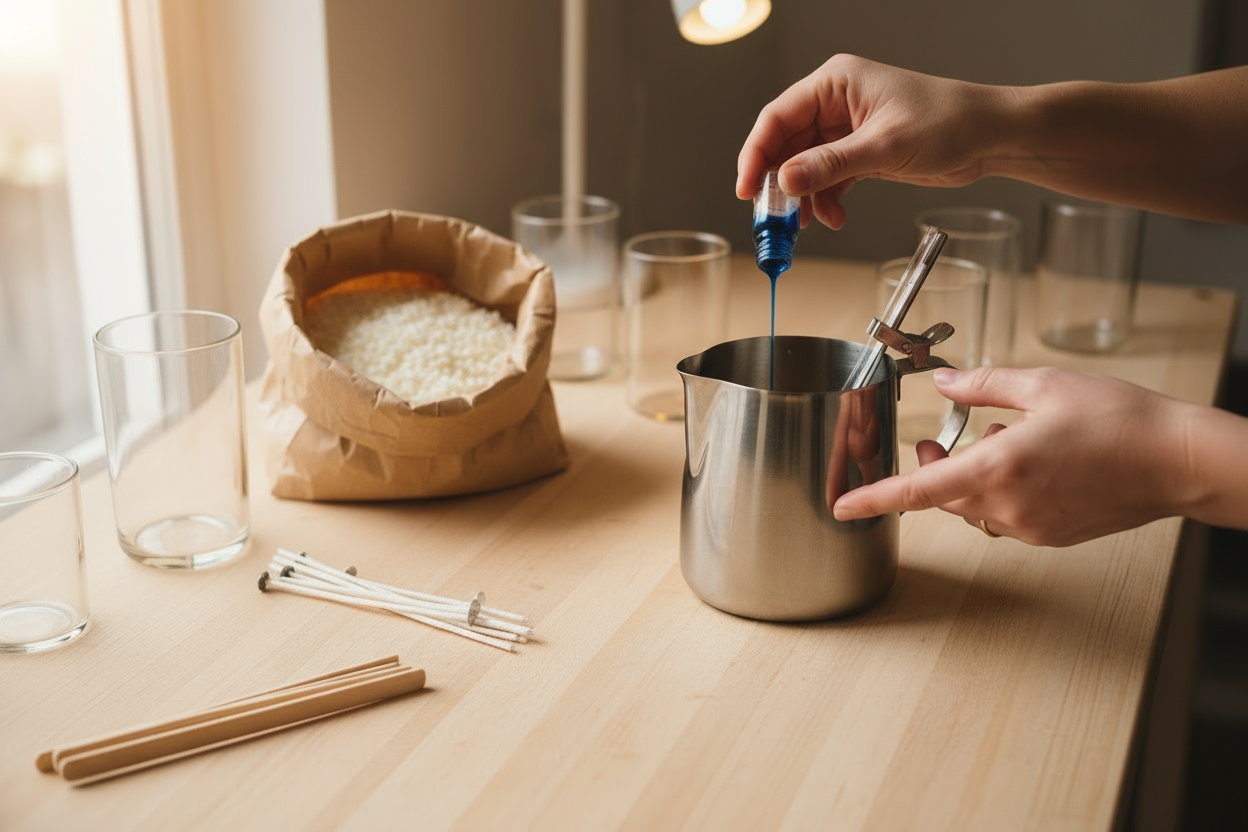
Once you've added fragrance oil to melted wax, stir carefully and thoroughly.
A good rule of thumb is to stir for one to two minutes.
Proper mixing helps:
- Improve scent throw
- Ensure even fragrance distribution
- Create more consistent candles
Don't rush this step.
9. Keep Your Workspace Clean
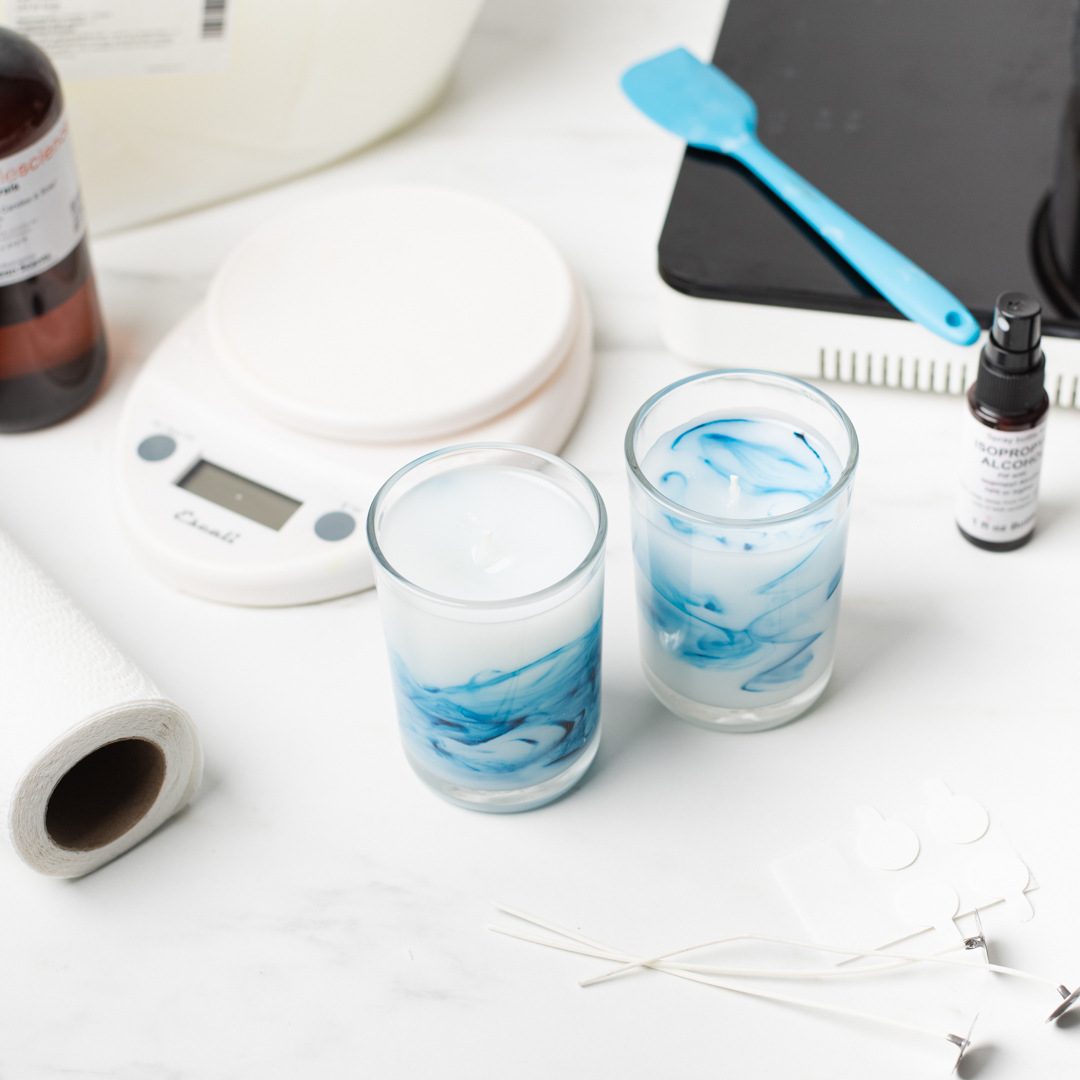
Dust, moisture, and contaminants can affect candle quality.
Before you start:
- Clean your containers
- Dry all equipment thoroughly
- Clear your workspace
A clean working environment helps produce smoother and more professional-looking candles.

10. Pour Slowly and Carefully
The pouring stage influences the final appearance of your candle.
Pouring too quickly may create:
- Air bubbles
- Uneven surfaces
- Imperfections
A slow, steady pour usually results in a smoother finish.
11. Let Candles Cool Naturally
Rapid cooling can cause:
- Cracks
- Sinkholes
- Rough surfaces
Avoid placing freshly poured candles:
- Near fans
- Under air-conditioning vents
- In direct sunlight
Allow candles to cool naturally at room temperature.
Patience produces better results.

12. Cure Your Candles
Curing is one of the most important—and most overlooked—steps in candle making.
During curing, fragrance molecules bind more effectively with the wax.
Recommended curing times:
Soy Wax
1–2 weeks
Coconut Wax
1 week
Beeswax
Several days
Many candle makers notice significantly stronger scent throw after a proper cure.

13. Test Burn Every New Candle
Even if a candle looks perfect, it still needs testing.
Evaluate:
- Flame height
- Melt pool size
- Scent throw
- Burn time
- Container temperature
Professional candle makers rarely launch a candle without multiple burn tests.
14. Keep Detailed Notes
One habit that separates hobbyists from professionals is record keeping.
Track:
- Wax type
- Fragrance percentage
- Wick size
- Pour temperature
- Cure time
- Burn test results
Detailed notes make troubleshooting easier and help you replicate successful recipes.
Common Candle Making Mistakes to Avoid
Even experienced makers encounter challenges.
Here are some common mistakes:
❌ Using too much fragrance oil
❌ Skipping the curing process
❌ Choosing the wrong wick size
❌ Pouring wax at incorrect temperatures
❌ Not conducting burn tests
❌ Using poor-quality ingredients
Avoiding these mistakes can dramatically improve your results.
Frequently Asked Questions
What is the best wax for beginner candle makers?
Soy wax is generally considered the best wax for beginners because it is easy to work with, burns cleanly, and produces excellent scent throw.
Why does my candle tunnel?
Tunnelling usually occurs when the wick is too small or when the candle is not burned long enough to form a full melt pool.
How much fragrance oil should I use?
Most soy wax candles perform best with a fragrance load between 8% and 12%.
How long should soy candles cure?
For best results, allow soy candles to cure for at least one week, although 48 hours is the minimum recommendation.
Why is my candle surface rough?
Rough surfaces are often caused by cooling conditions, pouring temperature, or the natural characteristics of soy wax.
Candle making is both an art and a science.
The more you understand your ingredients and process, the easier it becomes to create candles that look beautiful, smell amazing, and burn consistently.
Start with quality materials, take notes, test your candles, and be patient during the curing process.
With practice and the right techniques, you'll soon be creating professional-quality candles that you're proud to display, gift, or even sell.
Happy candle making!
Explore our website at Craftiviti.com or visit our store at Craftiviti, Level 2, Centrepoint Bandar Utama. Join our intermediate SPARK workshop for candle making to turn you from hobbyist into a pro. More details here>>>