

Candle making is both a creative art and a science. Whether you're a hobbyist or a small business owner, the type of wax you use plays a critical role in the final product. From soy and paraffin to beeswax and coconut blends, every wax has its quirks. If you’ve been struggling with inconsistent results, you’re not alone.
In this post, we’ll break down the top 10 wax problems candle makers face and offer practical solutions to help you create better candles every time.
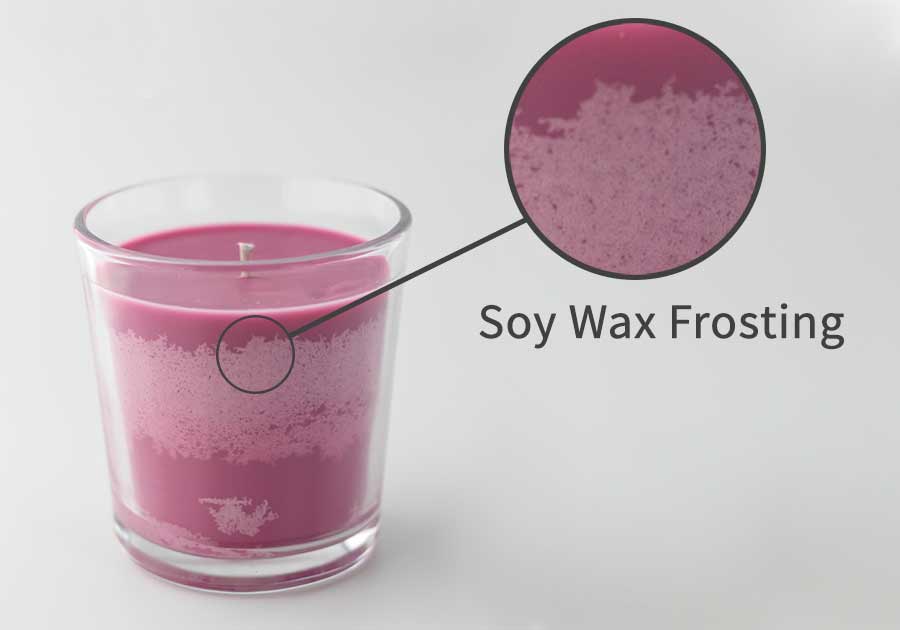
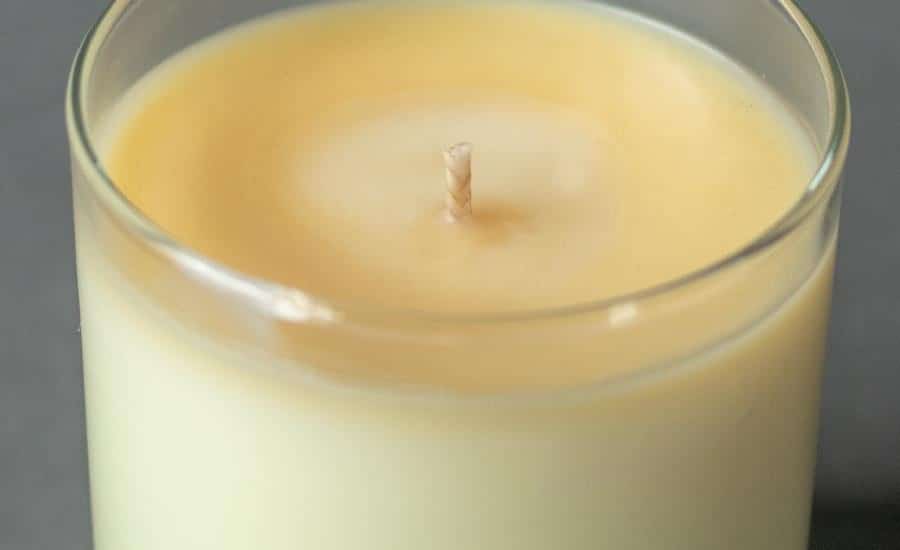
1. Frosting on Soy Wax Candles
Problem:
A white, powdery coating appears on the surface of soy candles over time. While it's natural, it affects appearance.
Why it happens:
Frosting is due to the natural crystal structure of soy wax as it cools and cures.
How to fix it:
* Pour at a lower temperature (110°F–130°F).
* Use a heat gun to smooth tops post-pour.
* Blend soy wax with additives like beeswax or coconut wax.
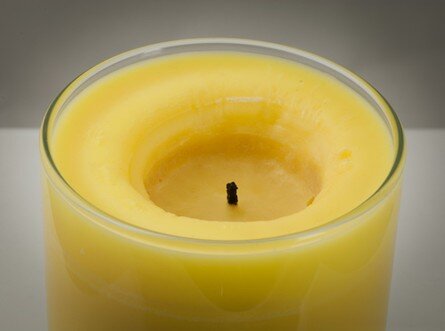
2. Tunneling
Problem:
The candle burns straight down the middle, leaving wax on the sides.
Why it happens:
The wick is too small or the first burn wasn't long enough.
How to fix it:
* Use the correct wick size for jar and wax type.
* Instruct users to burn the candle long enough to create a full melt pool (up to 4 hours).

3. Wet Spots on the Container
Problem:
Air pockets or wax pulling away from the jar creates wet-looking spots.
Why it happens:
Caused by temperature fluctuations or improper adhesion.
How to fix it:
* Pre-warm jars before pouring.
* Pour at a consistent temperature (ideally 125°F+).
* Let candles cool in a draft-free, warm space.

4. Poor Scent Throw (Hot and Cold)
Problem:
Candles smell weak when unlit (cold throw) or burning (hot throw).
Why it happens:
Wrong fragrance load, low-quality oils, or bad pouring temps.
How to fix it:
* Use high-quality, candle-safe fragrance oils.
* Add fragrance at 60°C–65°C.
* Stick to a 6–10% fragrance load (check wax limits).
5. Uneven Burn or Mushrooming Wick
Problem:
The wick creates a carbon ball or burns one-sided.
Why it happens:
Wick is too large, or there's too much fragrance/dye.
How to fix it:
* Use the correct wick type and size.
* Don’t overload with fragrance or dye.
* Trim wick to ¼ inch before lighting.
6. Cracking on the Candle Surface
Problem:
Visible cracks appear on the candle top after cooling.
Why it happens:
Cooling happens too fast or in a cold room.
How to fix it:
* Pour wax in rooms above 70°C.
* Let cool slowly — no fans or cold surfaces.
* Use Craftiviti Perfect Pour Soy Wax from USA for perfectly smooth surfaces each time. We've tested!
* Use a heat gun to smooth over cracks.
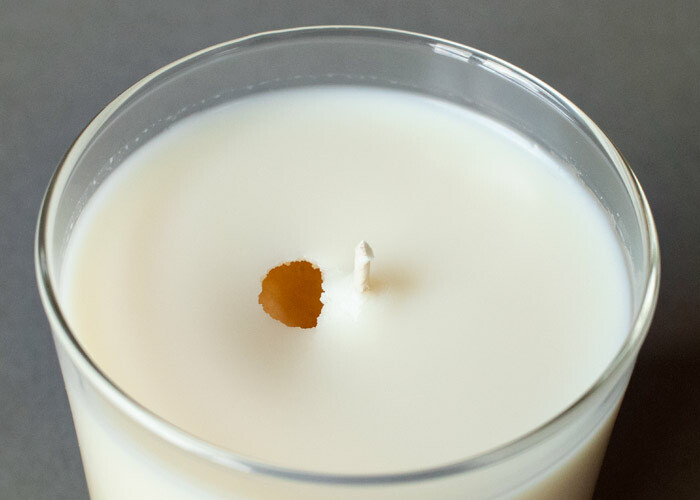 7. Sinkholes and Air Pockets
Problem:
A dip forms near the wick or beneath the top surface.
Why it happens:
Wax contracts as it cools, creating air gaps.
How to fix it:
* Pour slowly and steadily.
* Use a skewer to poke relief holes after the first pour.
* Top off with a second pour if needed.
* Use Craftiviti Perfect Pour Soy Wax from USA. No sinkholes or pockets, ever!
 8. Discoloration or Yellowing
Problem:
Candle wax turns yellow over time or when exposed to heat/light.
Why it happens:
Fragrance oil reaction or UV exposure.
How to fix it:
* Store candles away from direct sunlight.
* Use UV inhibitors.
* Test fragrance oils for discoloration risk.

9. Excessive Soot or Smoke
Problem:
Black smoke or soot appears while burning.
Why it happens:
Wick is too large or untrimmed, or fragrance load is too high.
How to fix it:
* Always trim wicks to ¼ inch.
* Avoid excessive fragrance or dye.
* Consider using cleaner wax blends (e.g., soy-coconut).

10. Inconsistent Wax Batches
Problem:
One batch behaves differently than another, even with the same recipe.
Why it happens:
Wax formulation can vary between suppliers or seasons.
How to fix it:
* Test each new batch before mass production.
* Buy wax in bulk from reliable suppliers.
* Keep batch records to track performance.
✅ Bonus Tips to Improve Candle Quality
* Use a digital thermometer to track temperature.
* Label candles with curing dates (7–14 days recommended for soy).
* Document all variables: wax type, fragrance %, pour temp, wick type, cure time.

Perfect candles come from testing, patience, and precision. From frosting to tunneling, most wax problems can be solved with careful adjustments to your process. Always work in small test batches, keep detailed notes, and never stop learning.
Whether you use soy, paraffin, beeswax, or coconut blends, understanding your wax is the first step to crafting candles that burn clean, look professional, and smell amazing.
🔍 Frequently Asked Questions
Q: Which wax is best for beginners?
A: Soy wax is beginner-friendly due to its clean burn and ease of use. Paraffin gives more consistent results but is synthetic.
Q: How long should candles cure before burning?
A: Soy needs 7–14 days, paraffin usually 3–5. Beeswax blends often cure faster.
Q: Can I blend waxes to improve performance?
A: Absolutely! Blending soy with coconut or beeswax can enhance scent throw, reduce frosting, and provide a smoother finish. However test before making a big batch.
Struggling with any of these wax issues?
Drop your biggest candle challenge in the comments below or sign up for our newsletter for weekly tips, testing templates, and troubleshooting guides.
Happy candle making! 🕯️✨
Visit our retail store at Craftiviti, Level 2, Centrepoint, Bandar Utama or check out our website for Waxes to get your best quality ingredients for your candles.